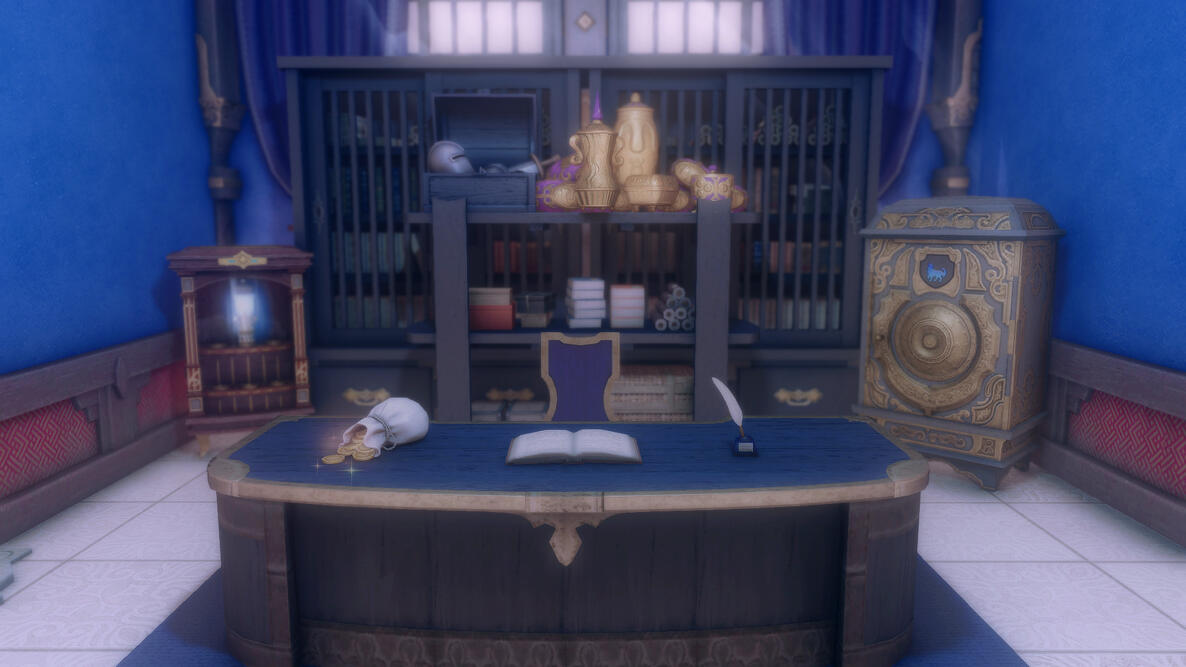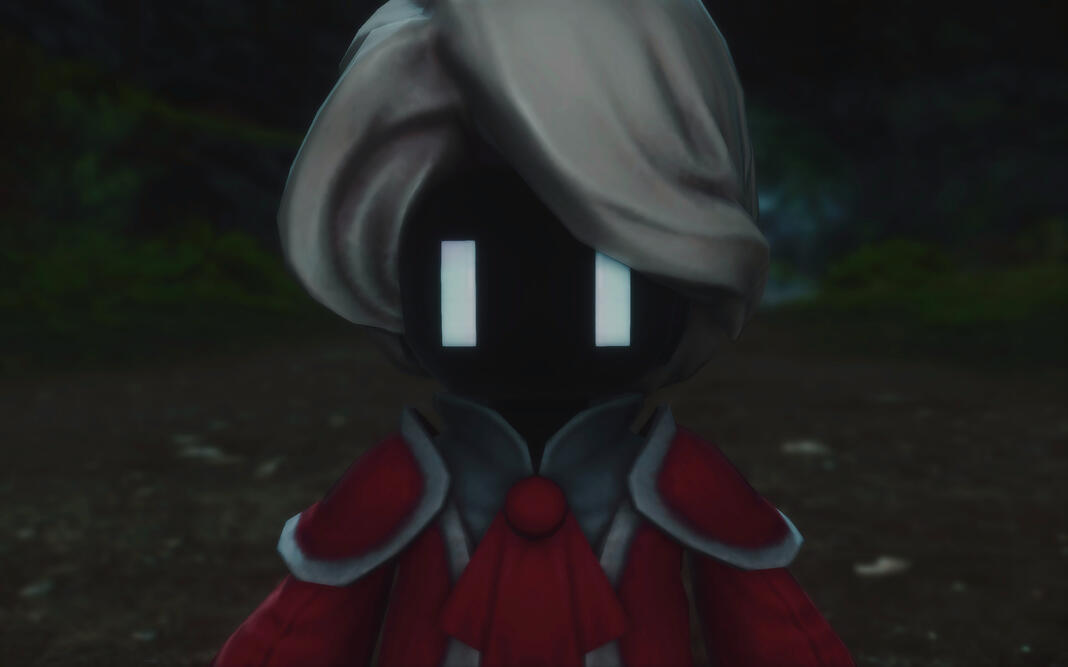
NightRaid
Bounty Call
Open Office Hour: bi-weekly on Fridays 9PM - 12AM EST
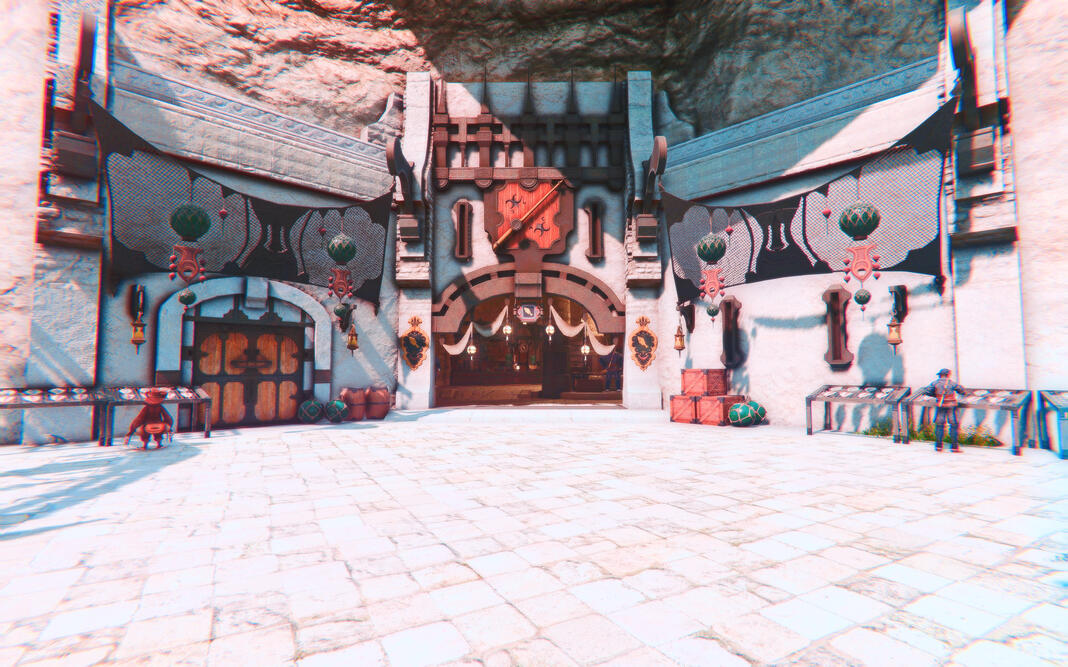
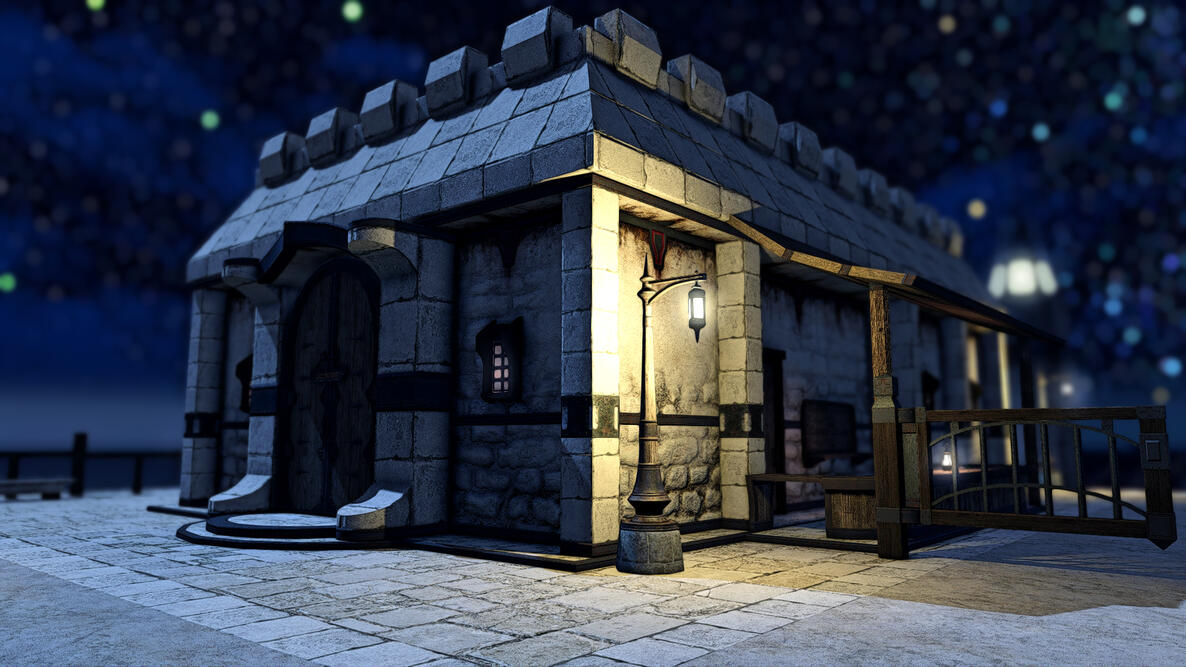
Location: Crystal - COEURL | Shirogane Subdivision Ward 25 Plot 46
ROLEPLAY Bounty Office & Supernatural investigations

WELCOME TO BOUNTY CALL!
Bounty Call is a venue with work and reward for hunters and visitors that are looking to pick up a variety of odd jobs and bounties issued by the company, NightRaid. Hunts are not limited to experienced individuals, as budding adventurers are encouraged to seek us out as a start. The office is open to the consultation, submission, and distribution of marks to be carried out by NightRaid's present employees.
Services: Hunt Consultation, Artifact Cleansing, Exorcism, Guarding, Scouting, Item Retrieval.
Consult Tetsuro Wulf if you are in need of any services or more listed above!
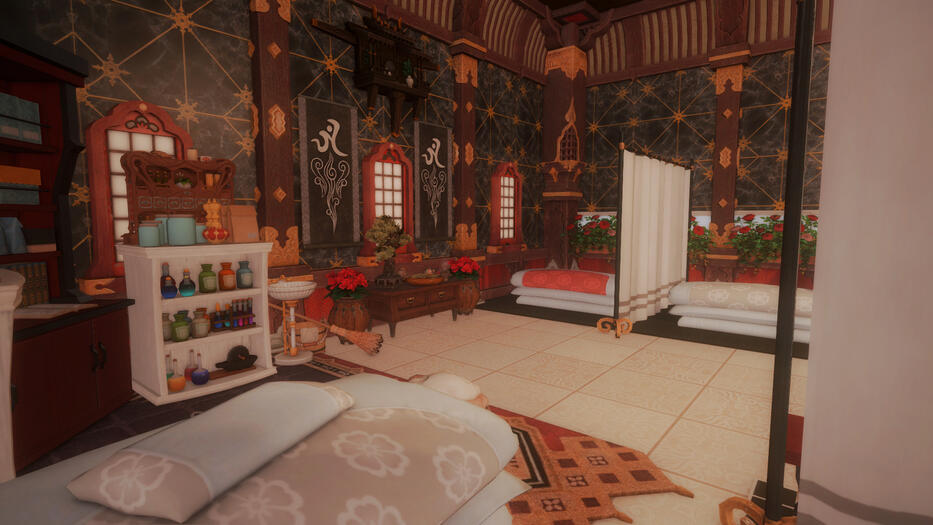
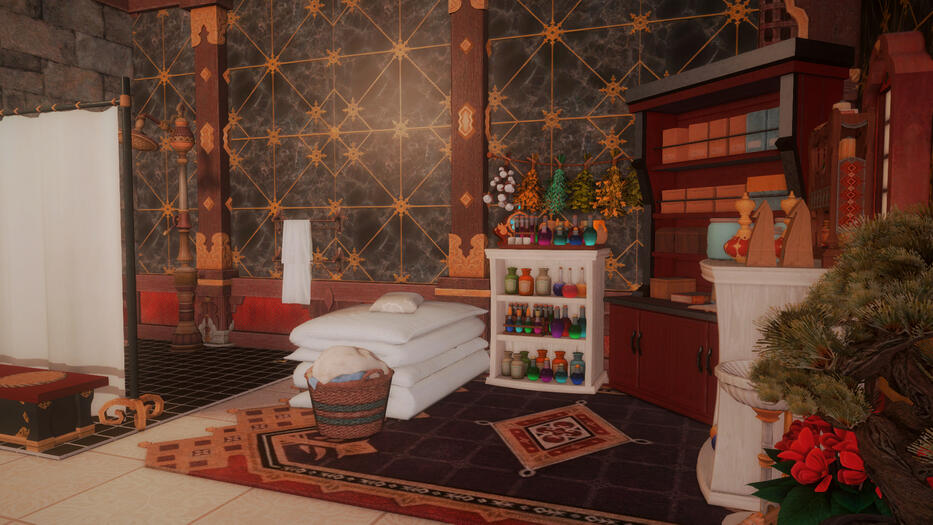
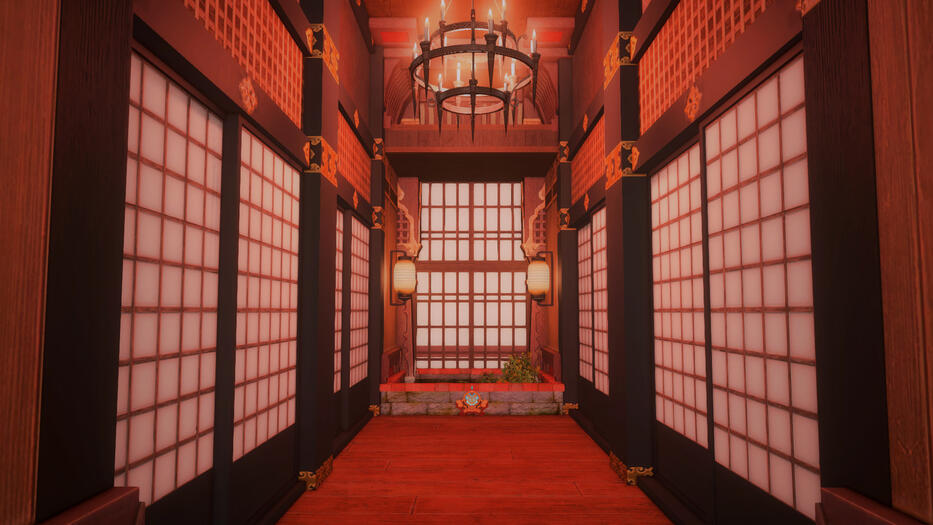
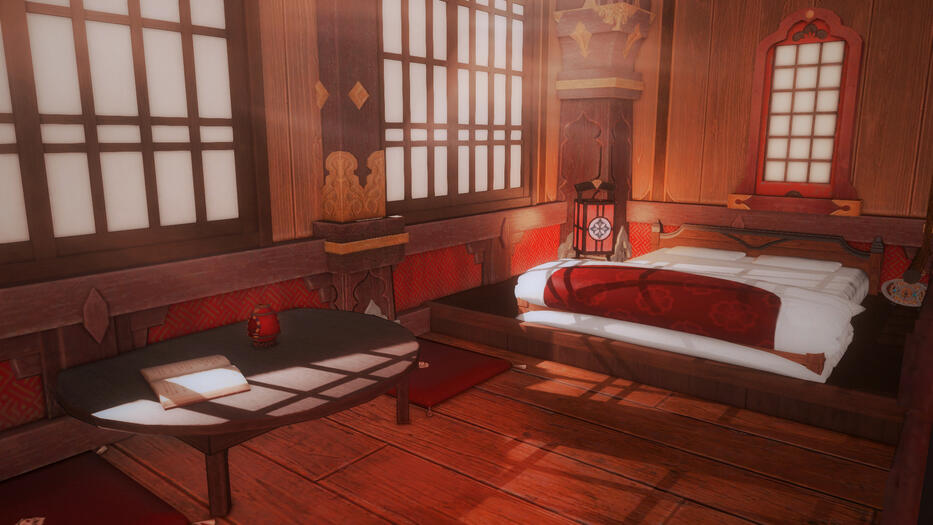
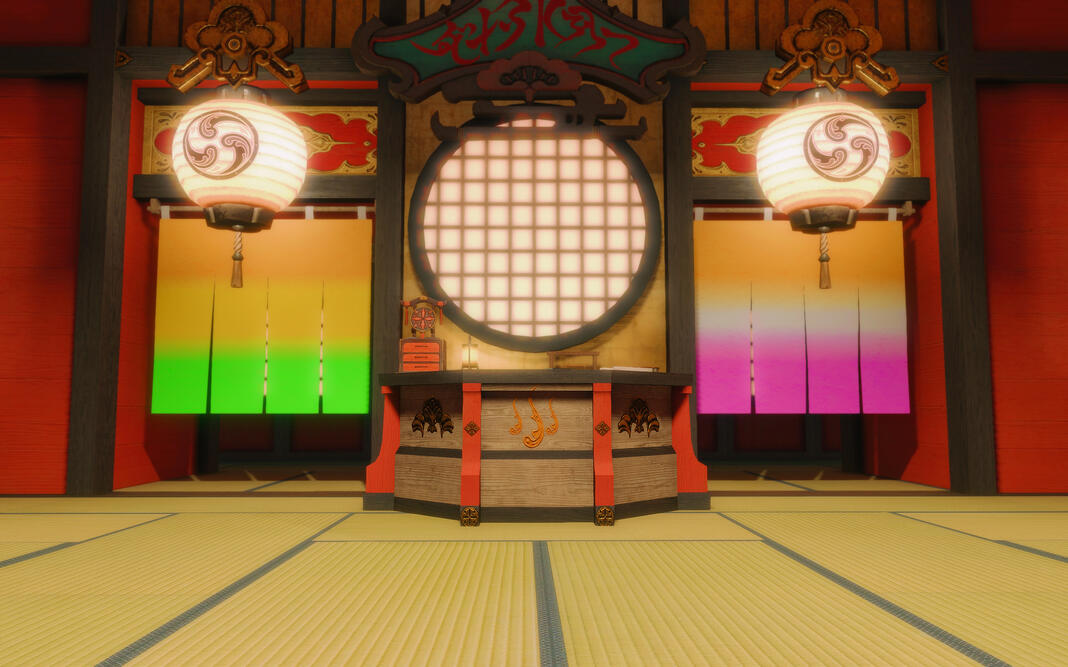
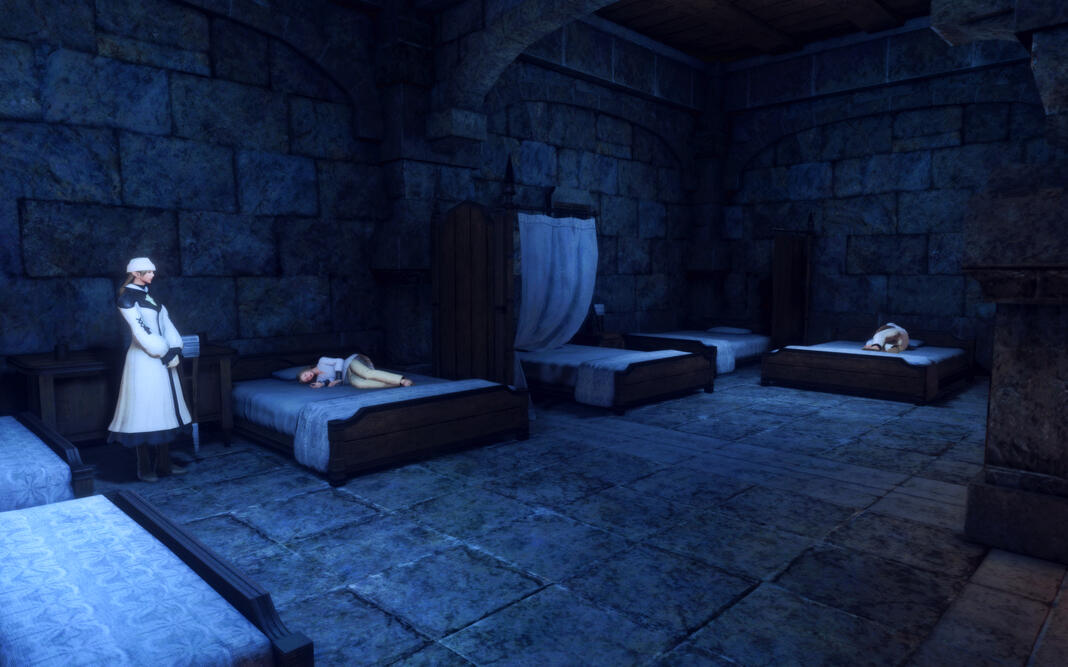
Facilities like the Dojo, Onsen, Infirmary, Guest Rooms, Studyroom, Zen Garden, Shrine, are open for usage during operation hours!
Applications for working at Bounty Call are currently open for the following roles; Chef, Servers, Hunts Leads, Healers, and Guards!

Meet the writers
Here are those typically responsible for providing and creating these bounties or jobs for our clients, patrons, and visitors. Through collaboration and weekly updates, we ensure to give variety and plenty opportunity for those who visit and are looking for some form of roleplay prompts through our writing. We also work to host and DM elite bounties for a group of players every once in a while. If you have any further questions OOCly regarding any of the bounties posted to our board, feel free to contact any of the following creators.
Tetsuro Wulf
NightRaid Boss
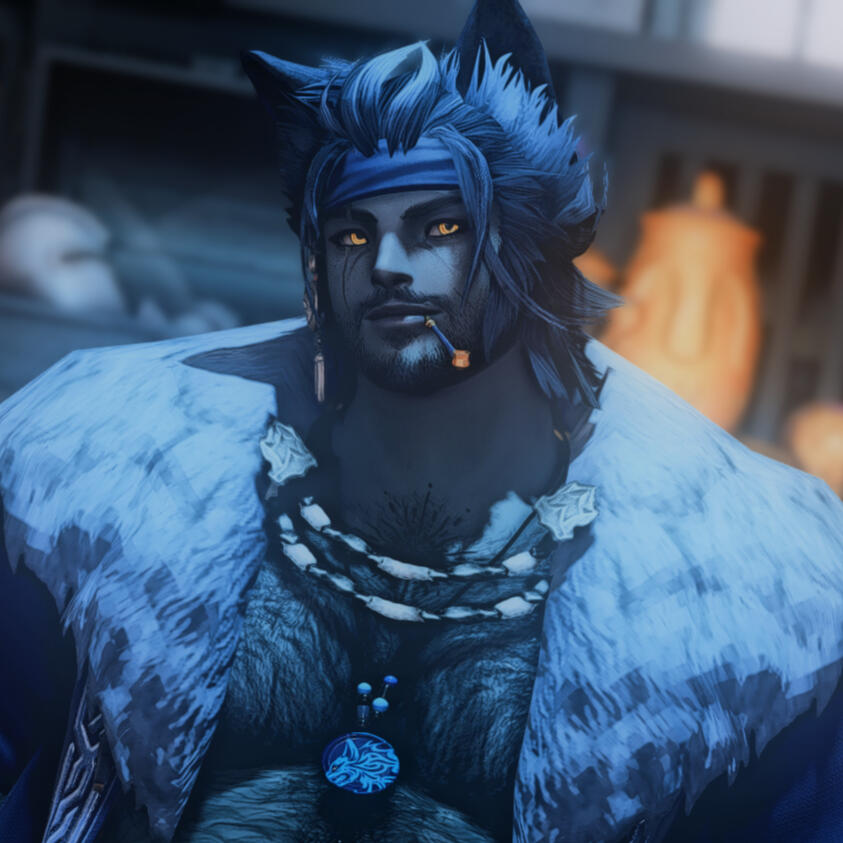
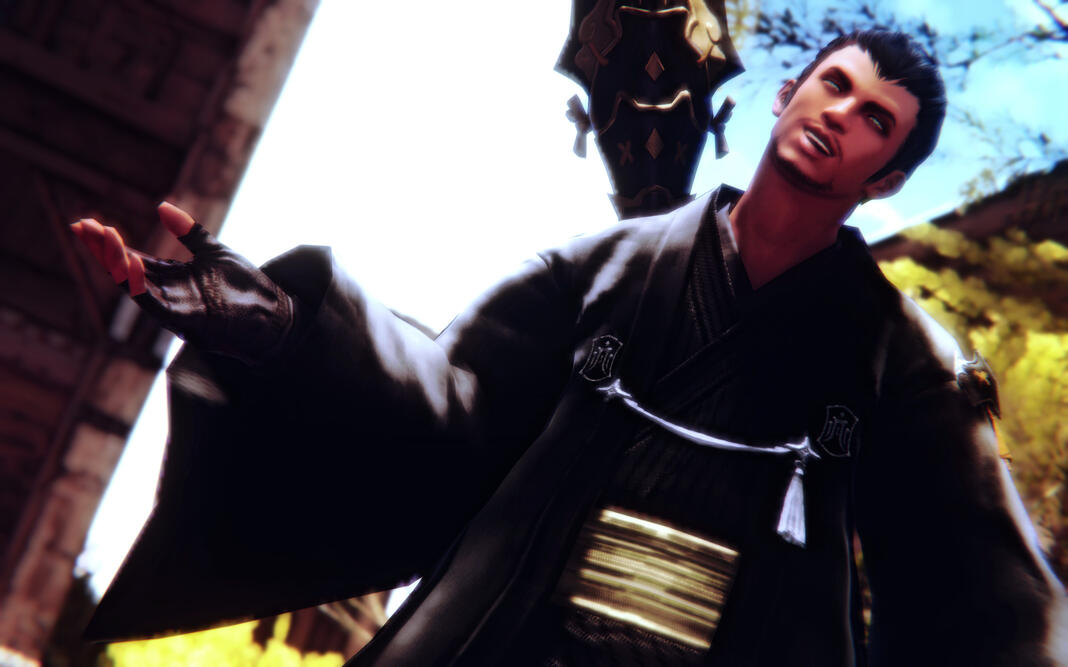
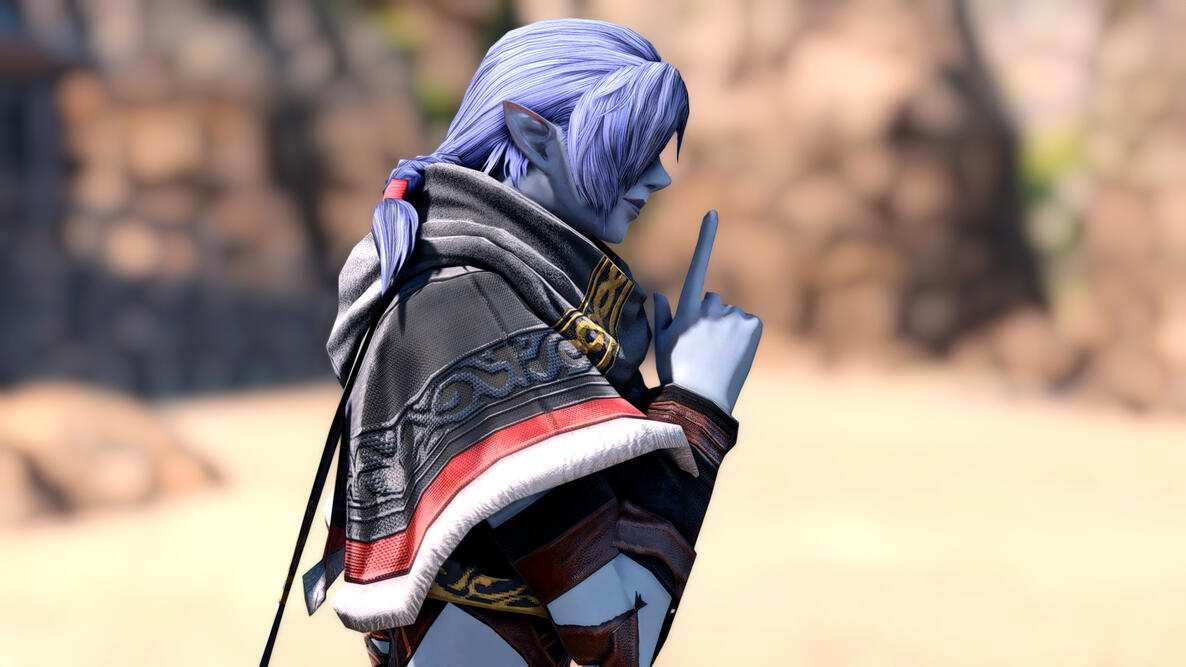
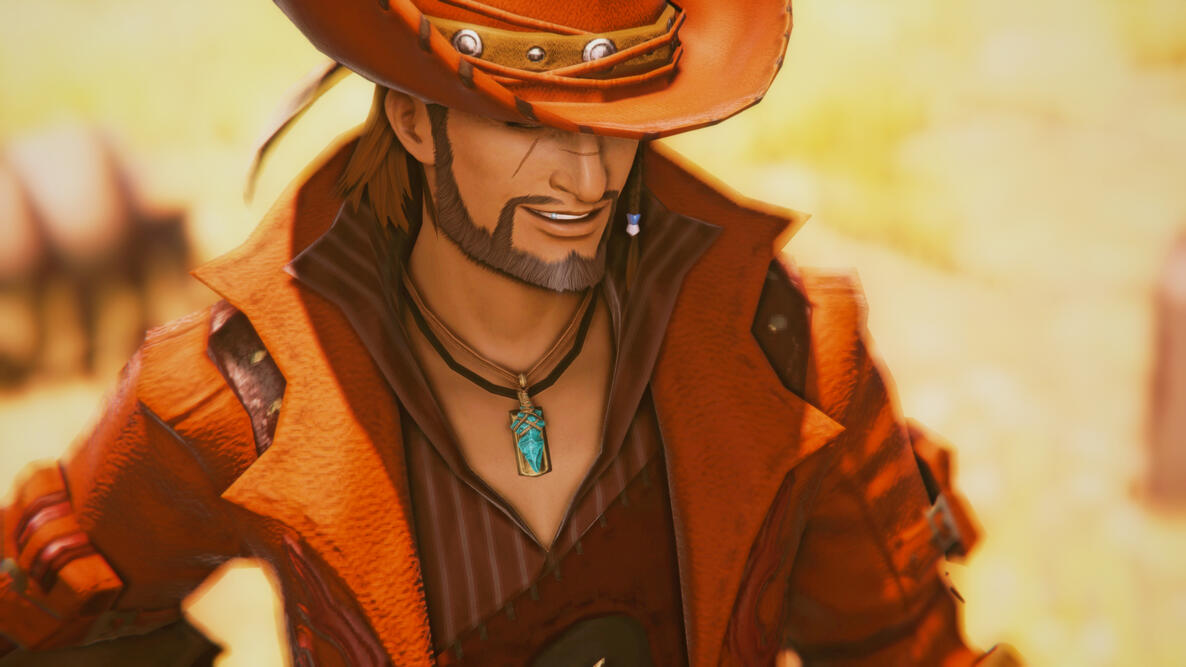
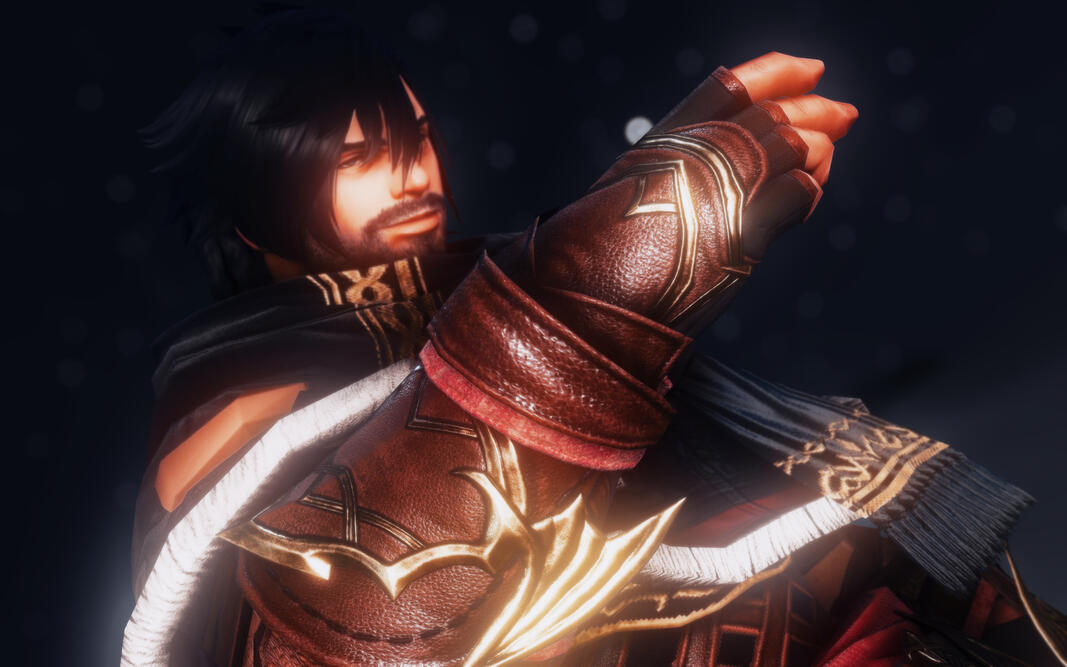
IC: Tetsuro is currently the leader and founder of the Nightraid Free Company, and NightRaid Network. He's known to be a mentor, friend, and familiar face to many within the network's community. He's known as an Okami Deity of Balance, pushing fiercely for the peaceful co-existence of yokai and mortals.OOC: Mun has been roleplaying for 13+ years, running multiple larger roleplay communities, and hosting for many combat-oriented campaigns in-game. Always happy to help bring storytelling, events, and character development.
Discord: okamidad
NIGHTRAIDERS
Free Company
Meet members of the NightRaid Free Company who also write our monthly bounties!

Rules & FAQ
The rules of the hunting hall during operational hours, and some common questions answered based on our system.
FAQ
Q: How do I pick a job?
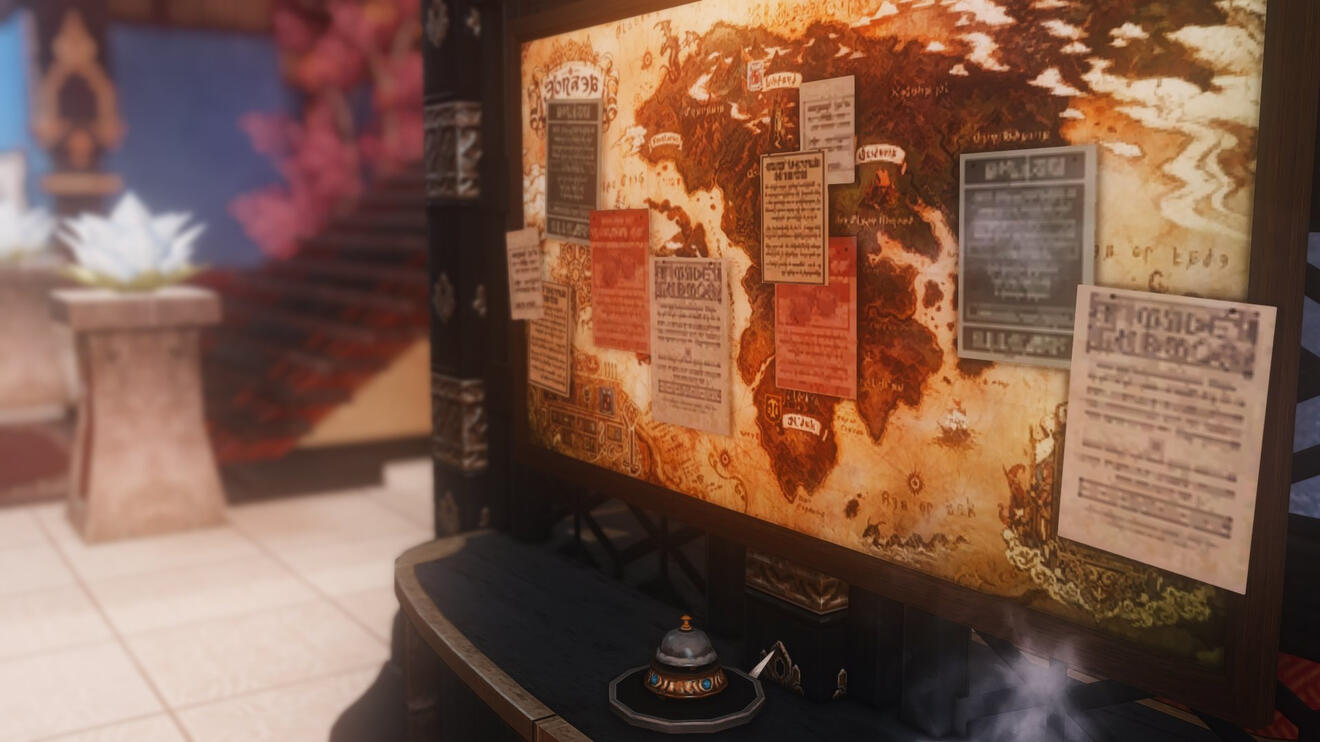
Check the board by the stairs or visit our site. Pick up to 2 bounties. Visit the counter to register and roll for Bounty Roulette if you like.Q: Is any real gil or loot involved?
No. All rewards are RP-only.Q: Will my job be DM’d?
Not unless it says so. Most bounties are solo RP prompts. Elite Bounties or select jobs may be DM’d—watch Discord for signups.Q: How do I join an Elite Bounty?
Watch the #bounty-board channel. Signups are first come, first serve during Bounty Call.Q: I wrote something about my job. Where do I post it?
Share it in #share-your-bounties! Screenshots, stories, and RP summaries welcome.Q: What if I miss the deadline?
Submit a ticket in #starter-support to ask for an extension.Q: What does “In Progress” mean?
It means the bounty is already claimed. The list updates between events—check before signing up.Still have questions or any concerns regarding your bounty? Submit a ticket in the discord!
RULES
1. No Physical Altercations Indoors
Unless you’re prepared to be frozen in place by the warded seals woven into HQ, keep your hands to yourself. Otherwise, take it to the dojo.2. Respect the Staff
They handle your hunts, drinks, and pay. Don’t bite the hands feeding you.3. No Fake Trophies
We know the difference between a real kill and staged scraps. Don't insult our board.4. No Stolen Hunts
If it’s not yours, don’t touch it. Sign before you chase.5. No Rowdy Drunks
Drink, don’t disrupt. You’ll get cut off or tossed out if you’re a problem.6. All Hunters Welcome
Criminals, enforcers, exorcists, ronin—NightRaid doesn’t discriminate. If you follow the rules, you’re family for the night.

Independent Bounties
These bounties issued can be done solo, as a pair, or with a small group. The difficulty is moderate, though it is advised to still proceed with caution regardless. These jobs may range from criminal activity, hunting mobs causing havoc, etc. You will be required to retrieve a particular item from said bounty as evidence of its completion for a reward.
( Click categories above to view different types of independent bounties listed below. )
Captive pursuits
The following bounties require that you take your quarry back alive with no exceptions. That said, do not underestimate your target, man or beast they are likely to retaliate. Best to come prepared for a long hunt.

Bow n’ Not Enough Arrows
Difficulty: ★
Bounty Summary: A man by the name of Zarrant has recently joined the Archers’ guild! A promising recruit that soon went sour. For this man had plans to trick the guild! In such an odd way at that. He took their wares. No, no, not the bows. All of the bows are still there and intact. Rather, he stole so, SO many arrows. As well as their quivers. He struck in the night! They were able to track him, finding themselves in South Shroud. Other than that, they cannot find him. They’re hoping for some outside help to track him down and bring him back.
How to Identify: A young, pale Elezen man that has FAR too many arrows on him. However, he does not have a bow. Rather talented at hiding.
Location: South Shroud, could be anywhere there, even the Lost City.
Trophy/Bounty Requirements: Bring Zarrant to the Twin Adders, as well as, as many arrows as you can return. Return with a writ of completion.
Reward: 25,000g

Turalis of the Red Steppe
in progress
Difficulty: ★★★
Bounty Summary: A former caravan guard turned raider, Turalis has been captured by a rival Steppe clan after a violent skirmish. The hiring party seeks his extraction for questioning regarding hidden weapon caches and stolen livestock routes.
How to identify: Highlander Hyur with a braided red cord tied into his beard and a broken spear tip worn as a necklace.
Location: Azim Steppe, temporary clan encampment west of Reunion.
Trophy / Bounty requirements: Return Turalis alive and bound; necklace required as proof of identity.
Reward: 63,000 gil.

Hino Kagetora
Difficulty: ★★★
Bounty Summary: A contract killer who has sabotaged private negotiations across the east now seeks refuge among hired guns in Shaaloani. Kagetora favors striking the escort rather than the client, leaving survivors alive just long enough to spread his reputation. Unfortunately for him, the last job ended with the wrong witness escaping, and now several interested parties want him breathing. He is not to be slain unless no other option remains.
How to identify: Tall Hingan man with crimson braid cords, lacquered half-mask worn at the hip, and a black-shafted naginata.
Location: Tural, outlaw camp outside Sheshenewezi Springs in Shaaloani.
Trophy / Bounty requirements: Bring him in alive with his half-mask and weapon.
Reward: 64,000 gil

THE FISH!
Difficulty: ★
Bounty Summary: Seems some petty little pranks have been happening at the Fishermans’ Guild. Specifically, a Lalafell woman wanders in and proceeds to.. cut the lines from the fishing poles. Steals fish sometimes. Even snatches up some of the bait. On bad days, fully breaks a fishing pole or two. She always shows up at random times, though often later into the day when less people are watching. The Maelstrom has been notified, stopping the pranks for now. That being said, they’ve been unable to find her specifically. Hopefully someone else can do that so they don’t have to leave the guild unattended. That aside, no one is sure why she’s doing this.
How to Identify: A Lalafell woman dressed in fishing gear! Black hair, green eyes, and tan skin. Often lurking around the Fishermans’ Guild, though never close enough to be seen by them. Usually later into the day.
Location: Limsa Lominsa, near the Fishermans’ Guild.
Trophy/Bounty Requirements: Return with a writ from the Fishermans’ Guild.
Reward: 15,000g

Yes, Yes! No, No!
Difficulty: ★ ★
Bounty Summary: It seems an issue has been bubbling up in Doma due to a Namazu. Yes, yes, a Namzu. A rebuilt shrine within the Enclave has noticed some offerings missing. Specifically after the night passes. When a priest remained awake through the night, he caught a Namazu wearing chinobi, yes shinobi, gear stealing offerings! The thief proved to be too quick. Thus, he is looking for someone to capture this Namazu and bring him back to the shrine. For a lesson on why stealing is bad. Not very violent, simply looking to steal.
How to Identify: A Namazu dressed up in shinobi gear. Hard to miss, even more difficult to chase.
Location: Doman Enclave
Trophy/Bounty Requirements: Return with the Namazu’s mask.
Reward: 30,000g

Baby Sky Pirate
Difficulty: ★ ★ ★
Bounty Summary: Not a literal baby sky pirate but, according to the woman who put this bounty in, he may as well be one. A young man of only sixteen summers, Gerard, has stolen an airship! A much smaller vessel, but the worst part is? He managed to fly it. Away. To the Sea of Clouds. His mother, Carla, has put this bounty in before she truly tries speaking to the temple knights, sky pirates, etc. Just someone willing to help. Someone needs to find the kid, the vessel, and bring back both to Ishgard. Preferably safely. That way they can apologize and pay for any damages.
How to Identify: A young Elezen that’s riding about the Sea of Clouds in a smaller, personal airship. Dressed in casual clothing. Probably flying a little oddly.
Location: The Sea of Clouds
Trophy/Bounty Requirements: Bring back a writ from Carla.
Reward: 50,000g

Siltsong Rhel
Difficulty: ★★
Bounty Summary: A courier turned fence who attempted to sell restricted aetherial maps has been seized by river pirates near the Ruby Sea. The client requires her extraction before the pirates relocate or kill her to avoid pursuit.
How to identify: Duskwight Elezen with blue-dyed braids and a slate-gray cloak marked with cartographic symbols.
Location: Ruby Sea, small pirate camp west of Tamamizu, possibly Isari area or Isle of Zekki.
Trophy / Bounty requirements: Recover Rhel alive and retrieve the stolen maps.
Reward: 44,000 gil.

The Book that Dreams
in progress
Difficulty: ★ ★ ★ ★
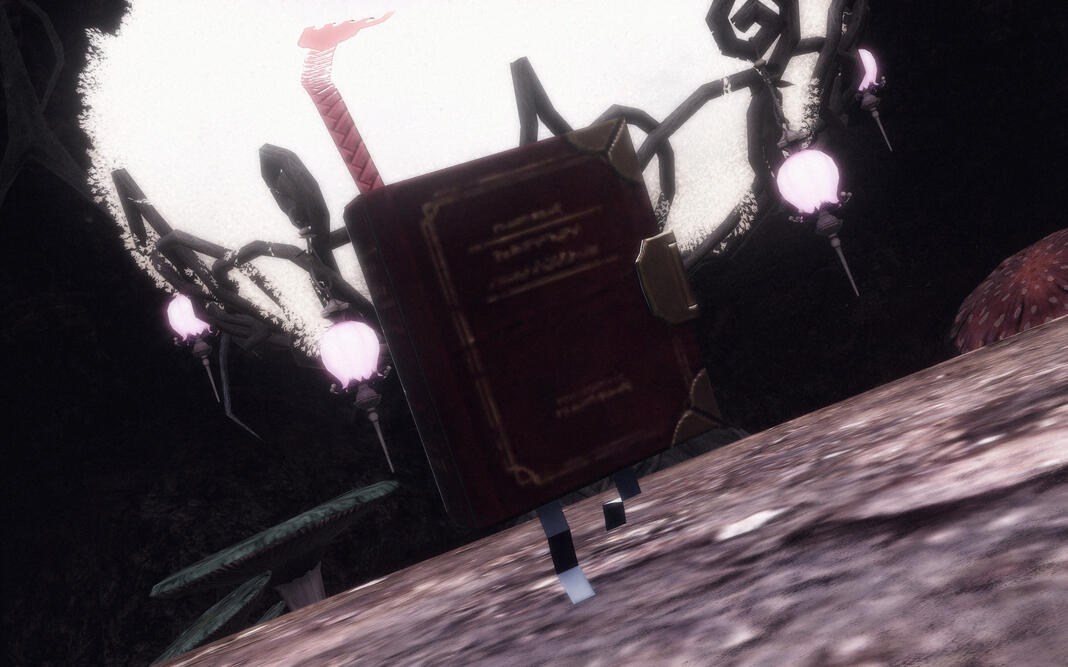
Bounty Summary: A more ‘peaceful’ captive hunt, it seems someone’s familiar has decided to wander! A book enchanted to have little legs that take it far! Too far, in fact, as it has decided to make its way around the Star! Vincent Vortel, the book’s owner, is hoping for a bit of help. The book spoke of wanting to visit the Moodles within the Churning Mist. Vincent does warn, directly quoted; ‘Ah, the book has a defense mechanism that will take whoever threatened it into its stories. Which are my journal entries. As I’m an adventurer, that might be dangerous.’ Needless to say, be careful with this book and DO NOT HARM IT.
How to Identify: A book that looks like a journal, just with tiny legs. Difficult to mistake with other things within The Churning Mist.
Location: The Churning Mist, Moghome hopefully.
Trophy/Bounty Requirements: Bring the book unharmed to Nightraid, we will return it to Vincent.
Reward: 70,000g

Triple Triad Thief
IN progress
Difficulty: ★ ★
Bounty Summary: A thief has been making his way around the Golden Saucer. Not stealing gil or MGP, no, he’s taking Triple Triad Cards! Sneaking in during tournaments or, really, anytime he can get his hands on a card or two. No one is sure WHY, but no one has been able to catch him! They do catch his overall look while stealing. Dark garbs, but adorned with jewels of various kinds. He also wears a hood and mask. Needless to say, someone needs to keep an eye on the Golden Saucer, or possibly find him fleeing to Ul’dah after his theft.
How to Identify: Despite the darker robes, this masked man wears jewels all over his garments. Flashy, but somehow stealthy as could be.
Location: Golden Saucer, also seen fleeing through Ul’dah after his crimes.
Trophy/Bounty Requirements: Return the stolen cards to the Golden Saucer and bring a writ of completion back.
Reward: 45,000g
Horde hunts
These bounties bring attention to problematic groups, be it a swarm of invasive species, a group of criminals rising in activity or a brood of dangerous creatures from the void, when a cry for help of this nature is made this is where your help will be most appreciated. Expect multiple targets, these groups may take several sweeps and culling before the people of the realm are safe once more.

A Glowing Issue
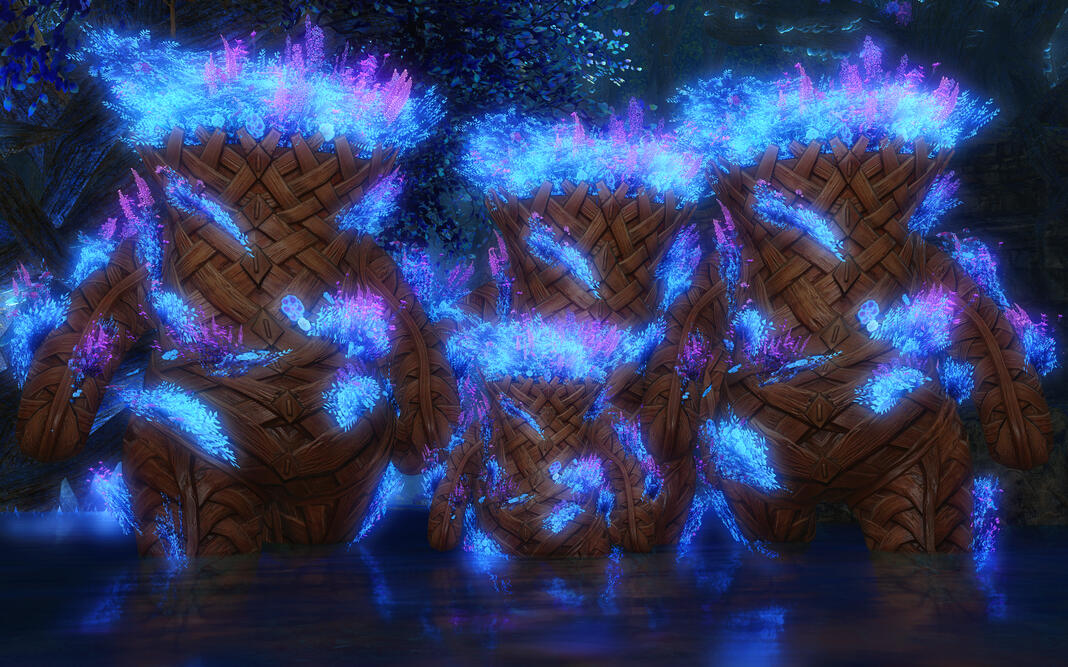
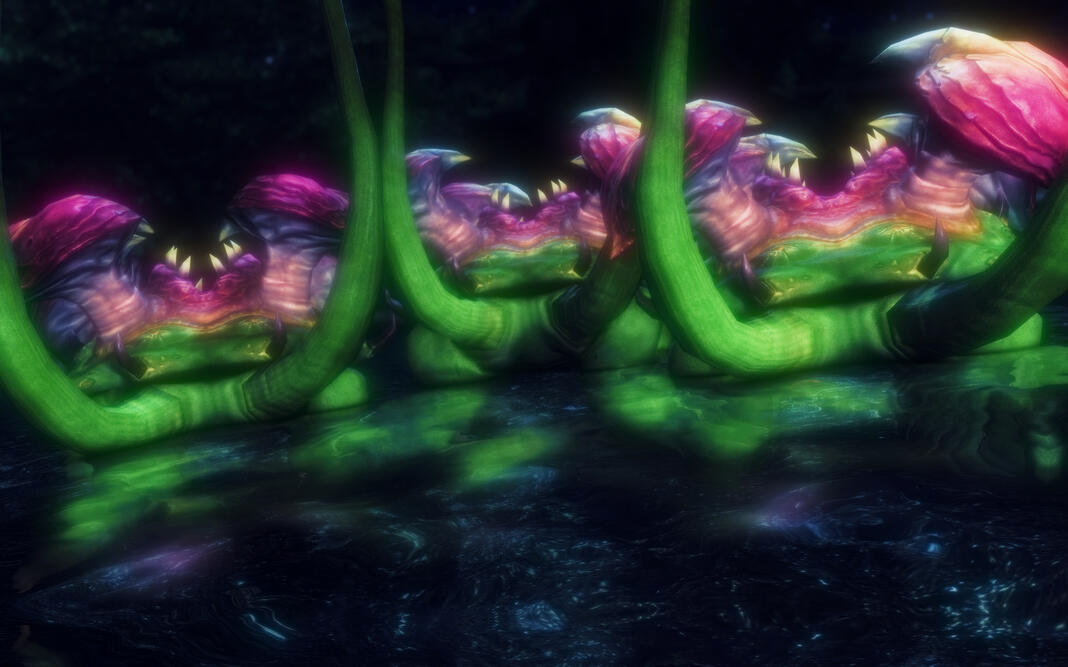
Bounty Summary: Within Yak T’el, near Mamook, resides giant flower basket soulkins. These are known as ‘Mourners.’ Normally not too awful on their own to deal with. Unfortunately, a large group of them has decided to congregate. Even worse, there’s small ones alongside them. Where the larger ones are slower, but more powerful, the small ones are FAST, but pack a strong punch themselves. They’ve taken over Cenote Jayunja and have decided to rush after anyone passing. Hopefully someone can deal with this issue sooner, rather than later.
How to Identify: Large flower basket soulkin come to life, alongside smaller ones. Each with their own glowing flora within. Difficult to miss, travels in a deadly group.
Location: Yak T’el, Cenote Jayunja
Trophy/Bounty Requirements: Return with a jar of glowing flowers.
Reward: 65,000g

Statue-makers
Difficulty: ★ ★ ★
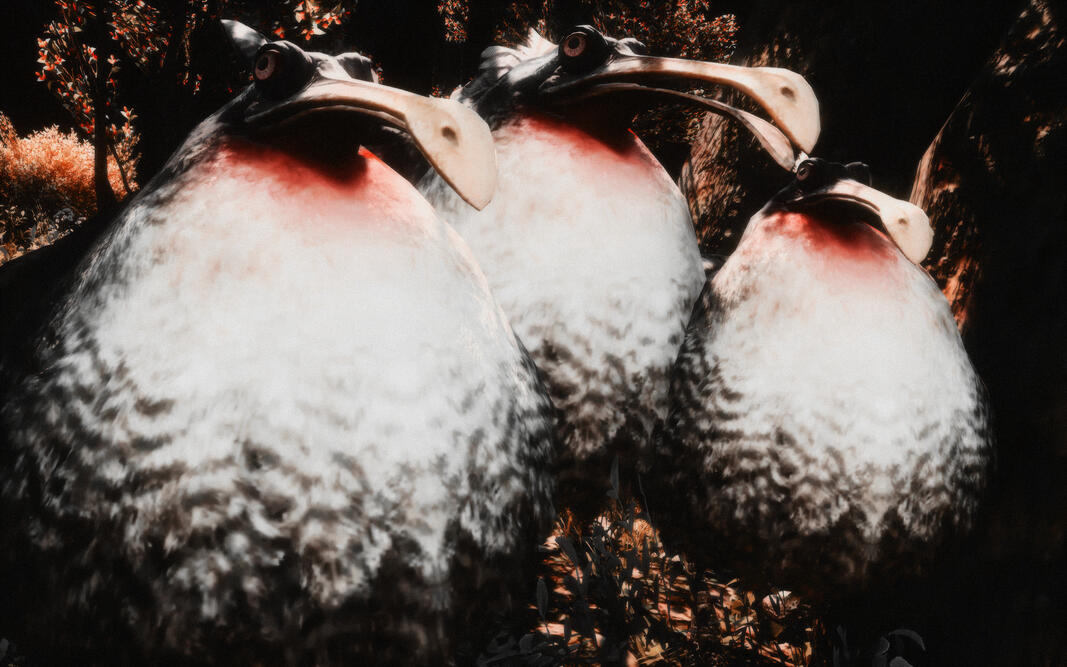
Bounty Summary: A horde of cockatrice has emerged within the Shroud. Specifically, a larger beast that leads around smaller of its kin. What makes these birds so deadly is their gaze that turns adventurers to stone. With so many of them there, it makes a horde like this tricky. Follow their tracks and the statues that come with them. The adventurers can be saved, if one brings the right tools or spell work.
How to Identify: A group of Cockatrice. One larger beast that leads around smaller ones.
Location: Central Shroud, just off the beaten path. Normally hiding around groups of trees.
Trophy/Bounty Requirements: Return with a jar of Cockatrice feathers.
Reward: 55,000g

Rogue Robots
in progress
Difficulty: ★ ★ ★ ★
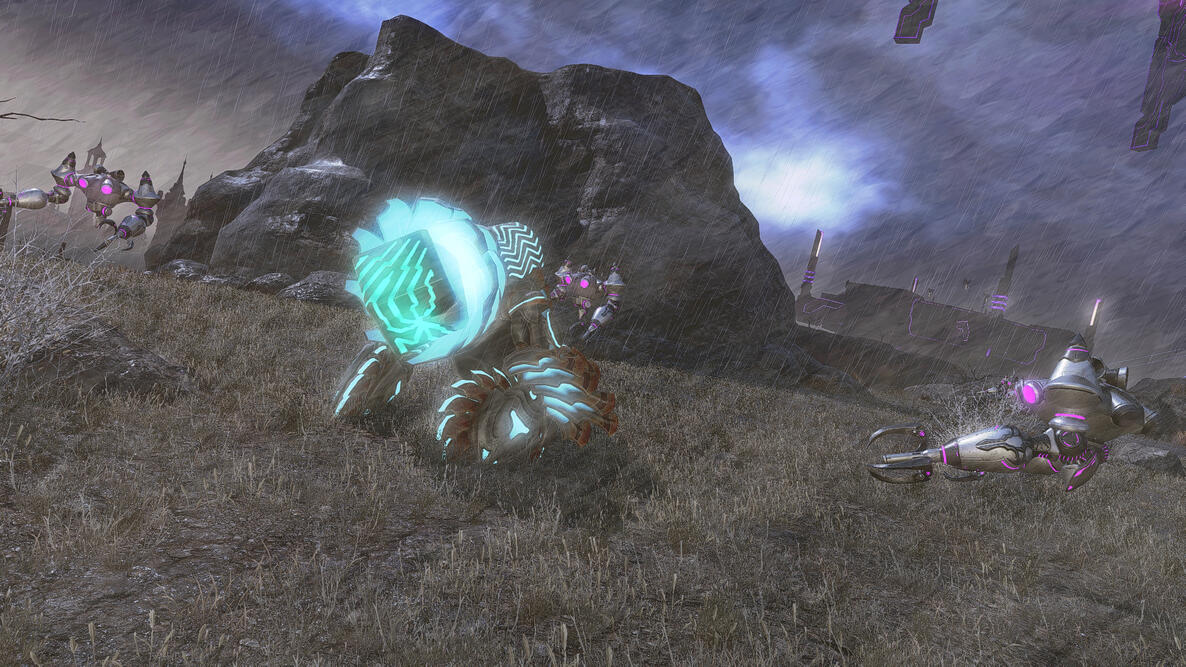
Bounty Summary: Those willing to tread the lightning wastes of Heritage Found, beware. Faulty hardware is ever a threat, but lately a band of malfunctioning machinery has taken to roaming the badlands without ample match. The machines have caused immense trouble for locals and travellers alike, and outside assistance is looking to be necessary. Eliminate all machinery, and bring scrap into the Outskirts for upcycling.
How to identify: Roaming band of droids, travelling in a decently sized group.
Location: Heritage Found
Trophy / Bounty requirements: Defeat all faulty machinery. For a bonus, return the scrap to the Alexandrians for processing.
Reward: 50,000 gil for a writ of completion from the Outskirts, and a 30,000 gil bonus for return of the scrap metal.

Deathgaze Flock
Difficulty: ★★★★
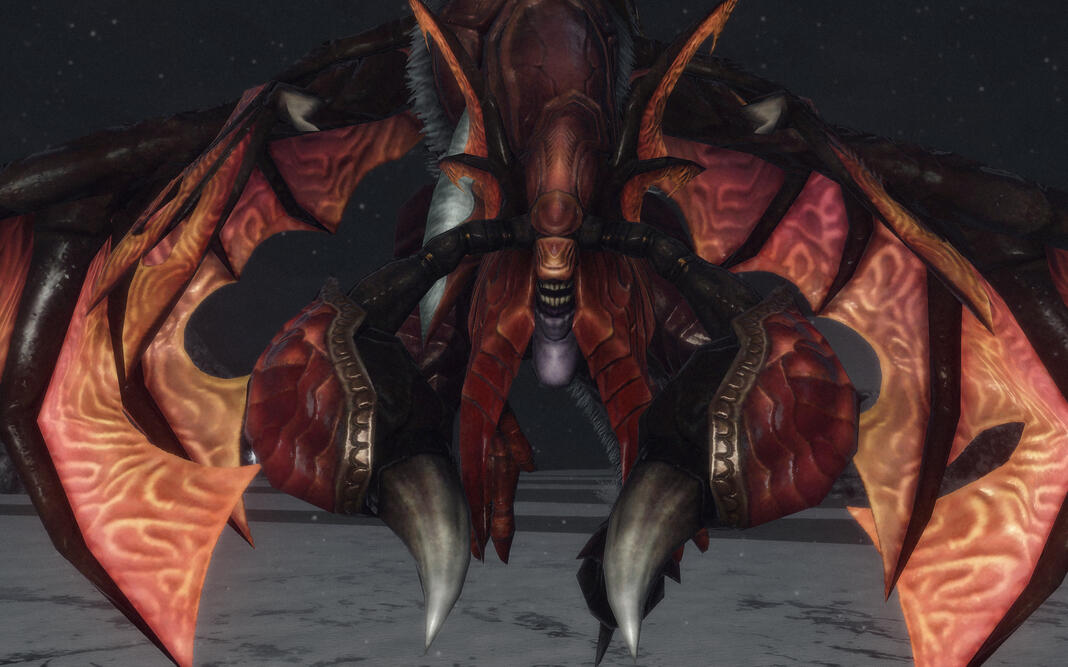
Bounty Summary: A migratory cluster of Deathgaze has begun circling trade routes, descending in coordinated lightning bombardments before retreating to high altitude. These creatures are known for recurring appearances, and this flock has grown unusually bold. Their lightning bombardments have crippled multiple caravans and left survivors dazed in their wake. Immediate culling is required before their feeding pattern stabilizes in the region.
How to identify: Hovering winged monstrosities with stinger-tipped tails and visible lightning gathering beneath their wings before release.
Location: Coerthas Western Highlands, open skies near Twinpools.
Trophy / Bounty requirements: Two stinger-tips and one intact wing membrane.
Reward: 86,000 gil.

Over the Rainbow
Difficulty: ★ ★ ★
Bounty Summary: No one enjoys running into a gelatin looking creature, Flan. In this case, seven of them, all of which coming together to form a rainbow. Each of them with their own magic. Magic that they’re using against unsuspecting adventurers in the night within Thavnair. They often strike those that travel off the beaten path. Someone needs to find them and handle them.
How to Identify: A group of colorful flan! Together, they form a rainbow. If there are any other groups of Flan, however, it might be best to handle them too.
Location: Thavnair, outskirts of Palaka’s Stand.
Trophy/Bounty Requirements: Return with seven vials containing a chunk of each flan.
Reward: 60,000g

Feathered Tyranny
in progress
Difficulty: ★★★
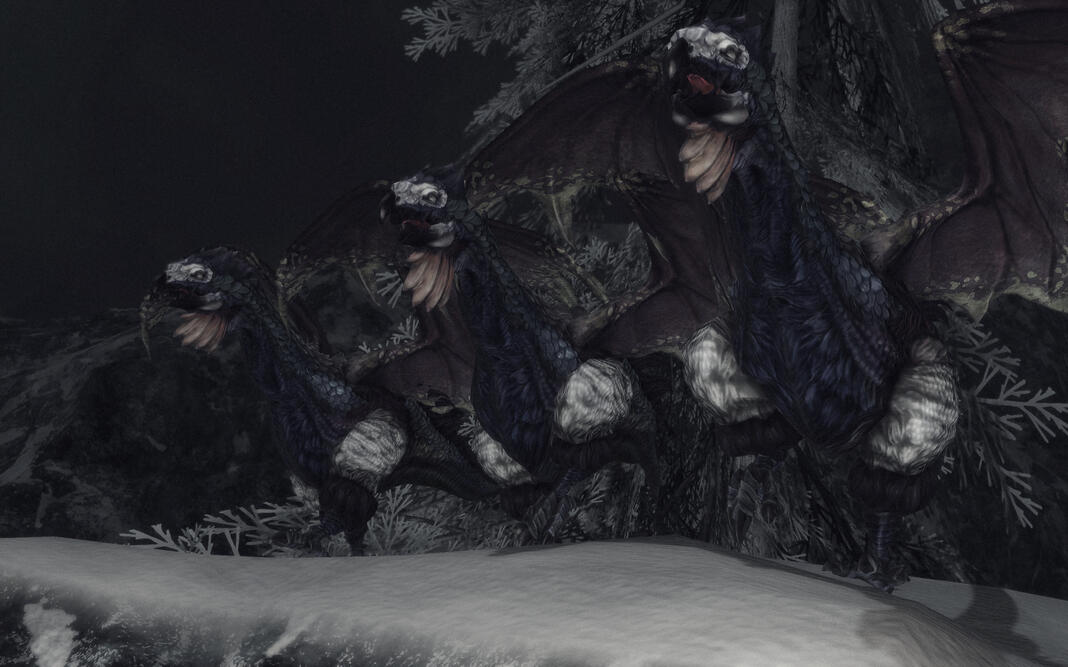
Bounty Summary: A manipulated flock of Archaeornis has descended from northern ranges under suspected draconic influence. These feathered scalekin have begun dive-bombing watchtowers and isolating patrols. Their territorial aggression suggests organized behavior beyond normal predation.
How to identify: Large feathered scalekin resembling bird-drakes, often circling in coordinated patterns before striking.
Location: Western Coerthas, high ridges overlooking Falcon’s Nest.
Trophy / Bounty requirements: Three feather-crests and confirmation of flock collapse.
Reward: 72,000 gil.

The Ashpool Revival
Difficulty: ★★★
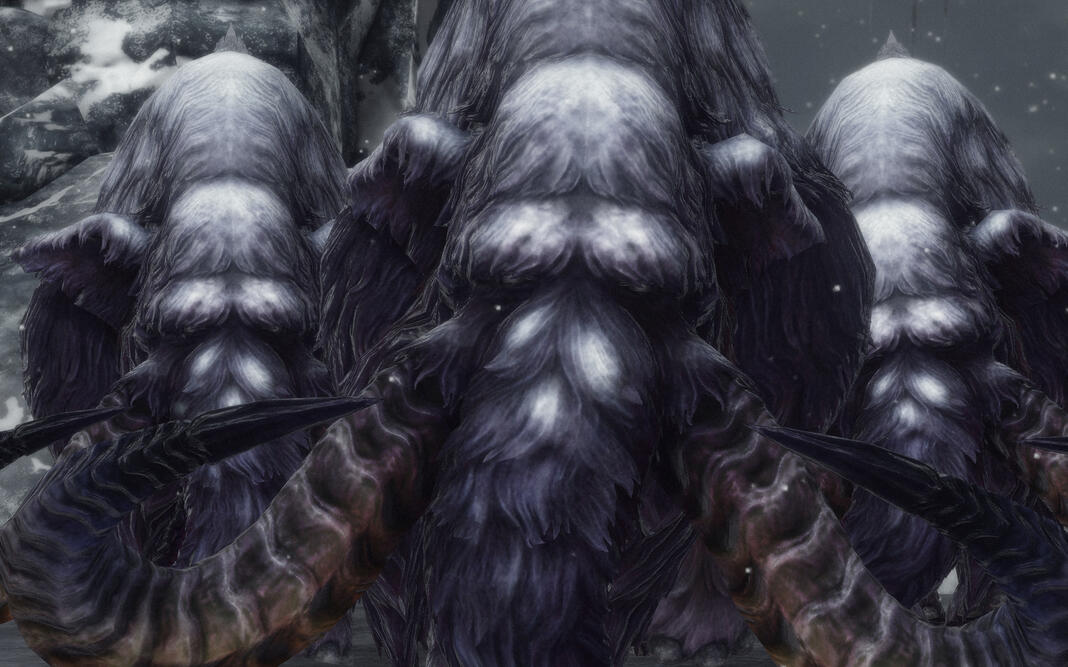
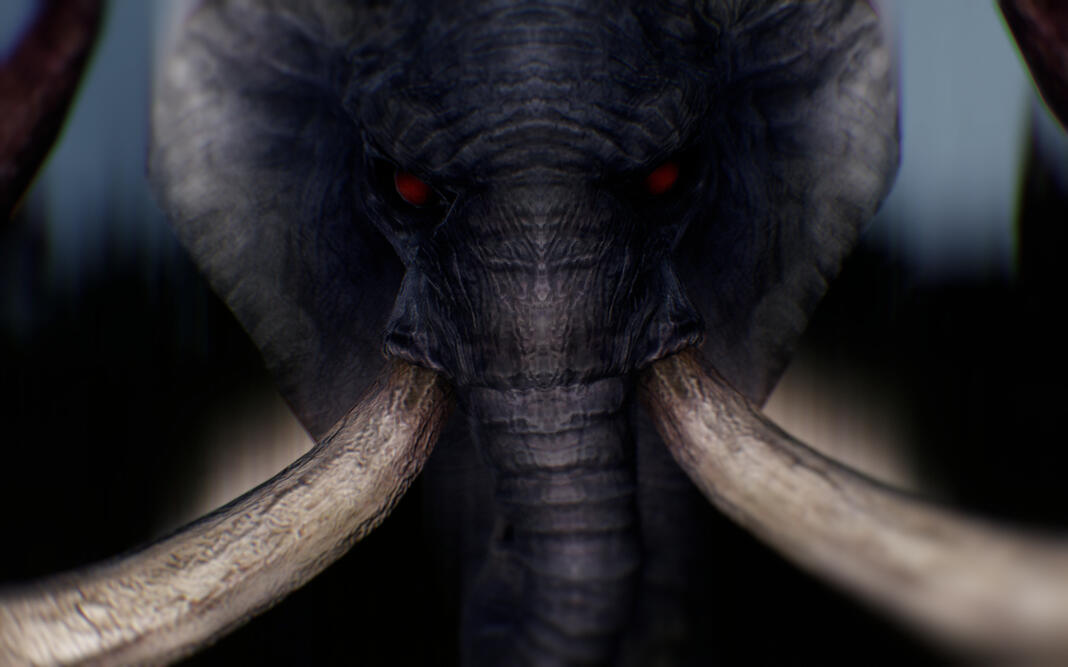
Bounty Summary: A herd of Mammoths has broken from migratory patterns and begun trampling supply posts aggressively. Though ordinarily placid, these individuals react violently to disturbance. Their hides deflect arrows and spears, making conventional suppression ineffective. The herd must be thinned or redirected before they level the surrounding trade routes.
How to identify: Massive wool-coated quadrupeds with long, curved tusks and heavily matted hides.
Location: Coerthas Western Highlands, frozen plains near Ashpool.
Trophy / Bounty requirements: One mature tusk and proof of herd dispersal.
Reward: 68,000 gil.

Terrible Threes
Difficulty: ★ ★ ★ ★
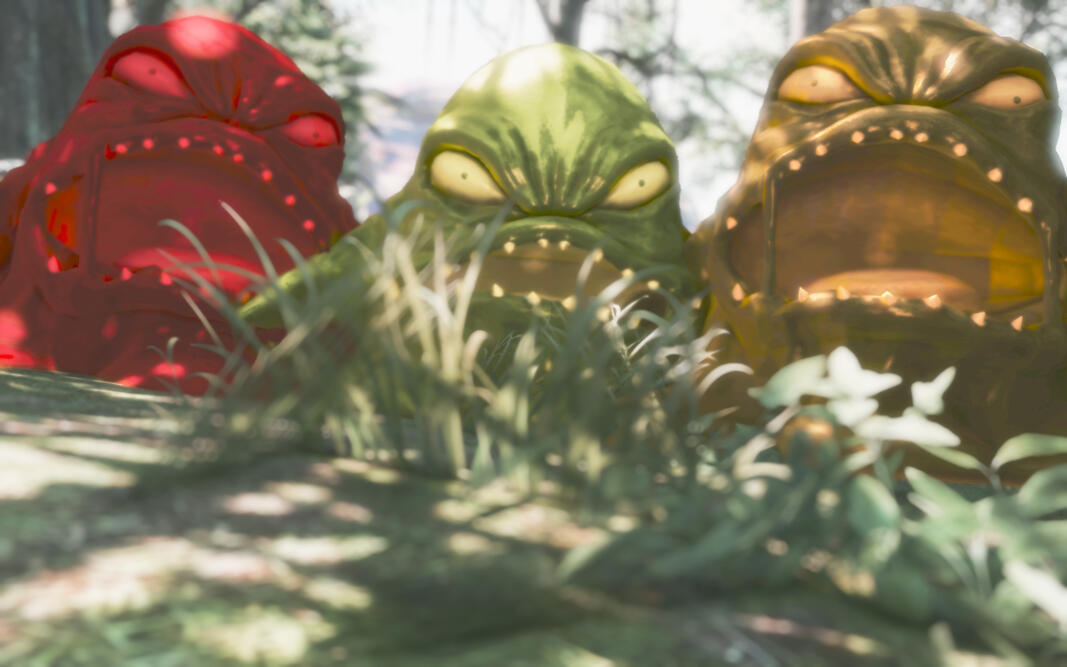
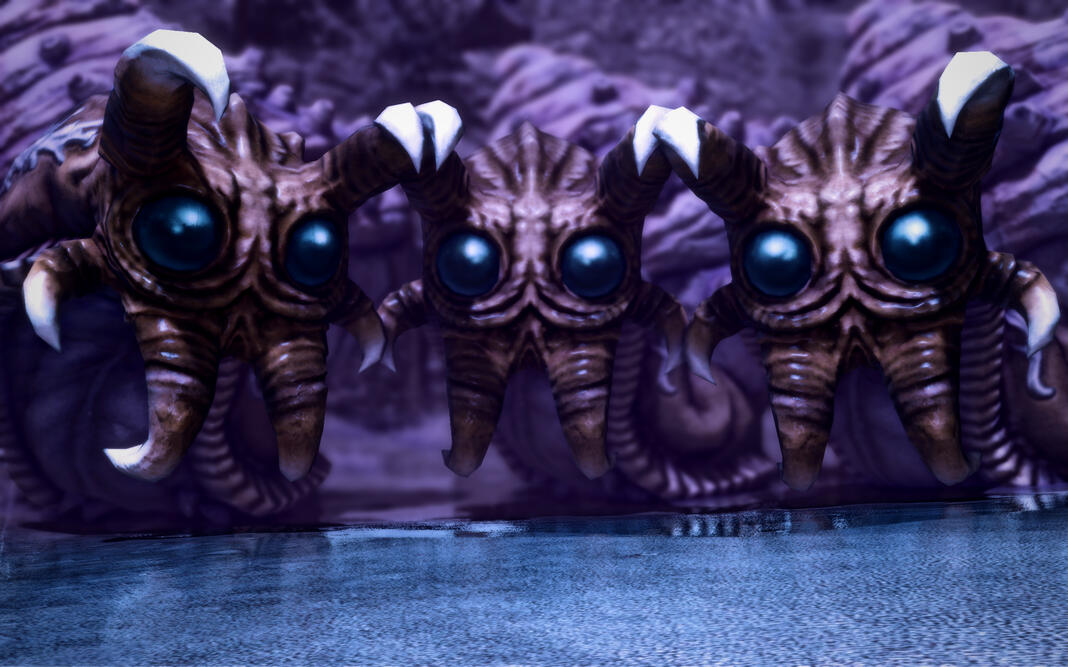
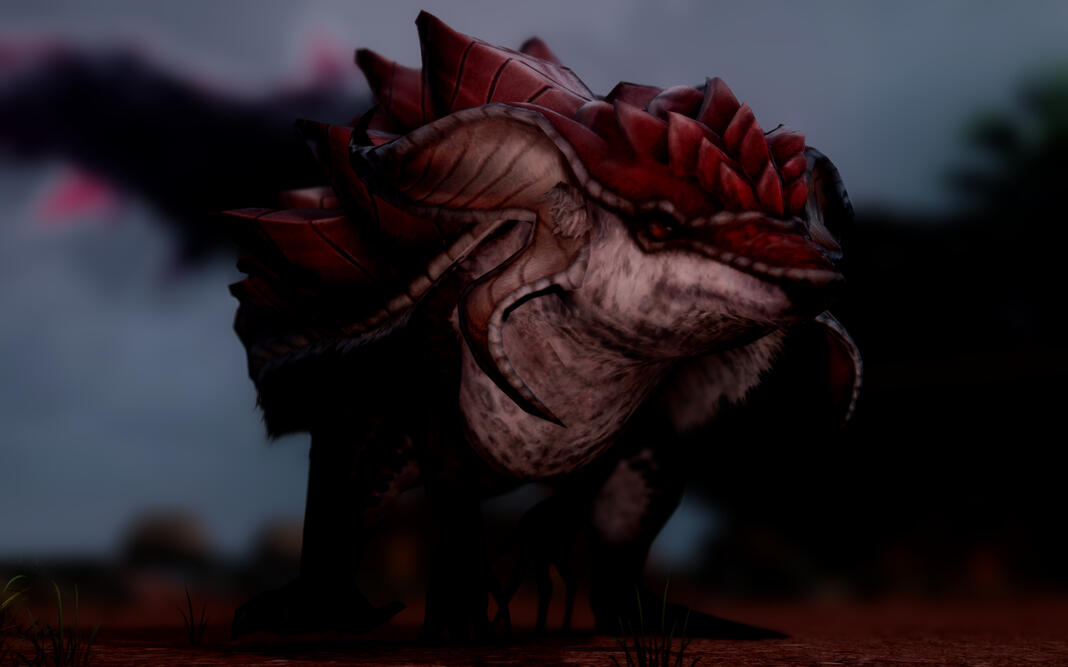
Bounty Summary: Yumemi are creatures that can live rather long. The longer they live, the more they eat. The more of a threat they can pose. In most cases, the older ones are known as the Daimyo Yumemi. Who eat A LOT. Most cases though. In this case, three large Yumemi are proving an issue in the Ruby Sea. Specifically near the pathway to the Azim Steppe, making a problem for merchant caravans or any travellers. Someone needs to handle them. By the way, somehow, these Yumemi have the power of levin on their side with charged shells. Be careful.
How to Identify: Three Yumemi with giant shells. Charged with levin and always stick together. Near the East Othard Coastline, by the path to the Azim Steppe.
Location: The Ruby Sea, East Othard Coastline
Trophy/Bounty Requirements: Bring the three large levin charged shells back!
Reward: 75,000g

Adamantine
Difficulty: ★ ★ ★
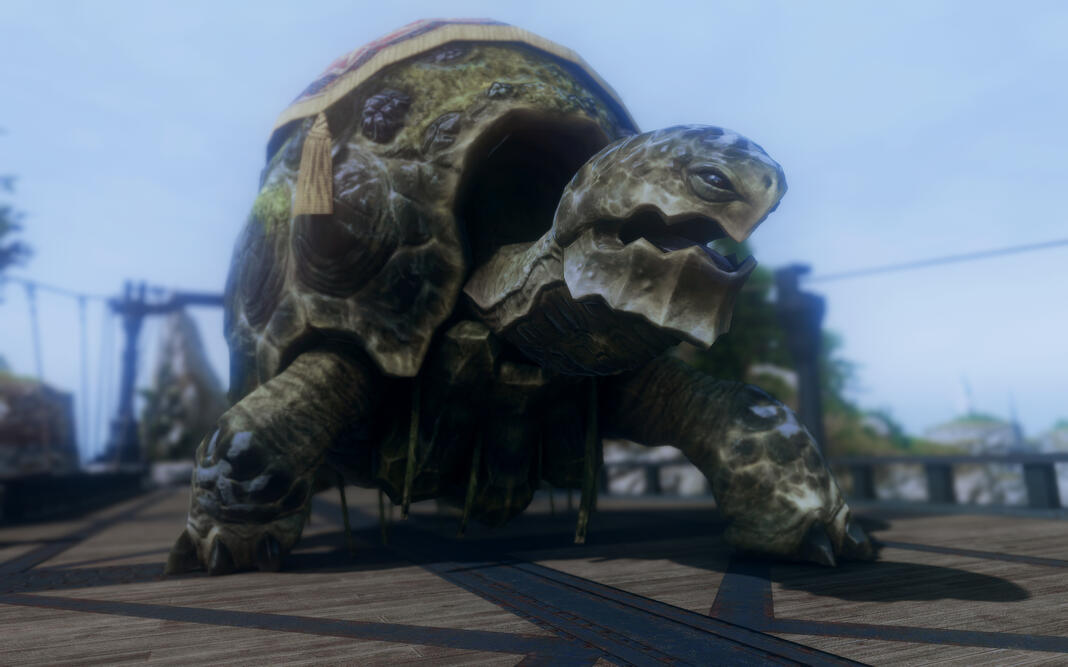
Bounty Summary: A large issue has decided to show itself. Specifically, at night and in Lower La Noscea. You see, a group of rather bulky Adamantoise have been seen lingering on the bridge. No, not moving across it, staying there. They linger and lash out at any merchants that roll past. Any adventurers too. Needless to say, this is an issue! Even hunters that find them during the day have had little luck. Apparently, their shells are EXTREMELY durable. Making them a difficult mark. Someone with a little more skill and with more oomph behind their strikes are needed.
How to Identify: A group of adamantoise. They’re easy to find. They’re also causing problems around Oschon’s Embrace.
Location: Lower La Noscea. Strikes Oschon’s Embrace at night.
Trophy/Bounty Requirements: Bring back at least three shells.
Reward: 50,000g

Open Up
in progress
Difficulty: ★ ★ ★ ★
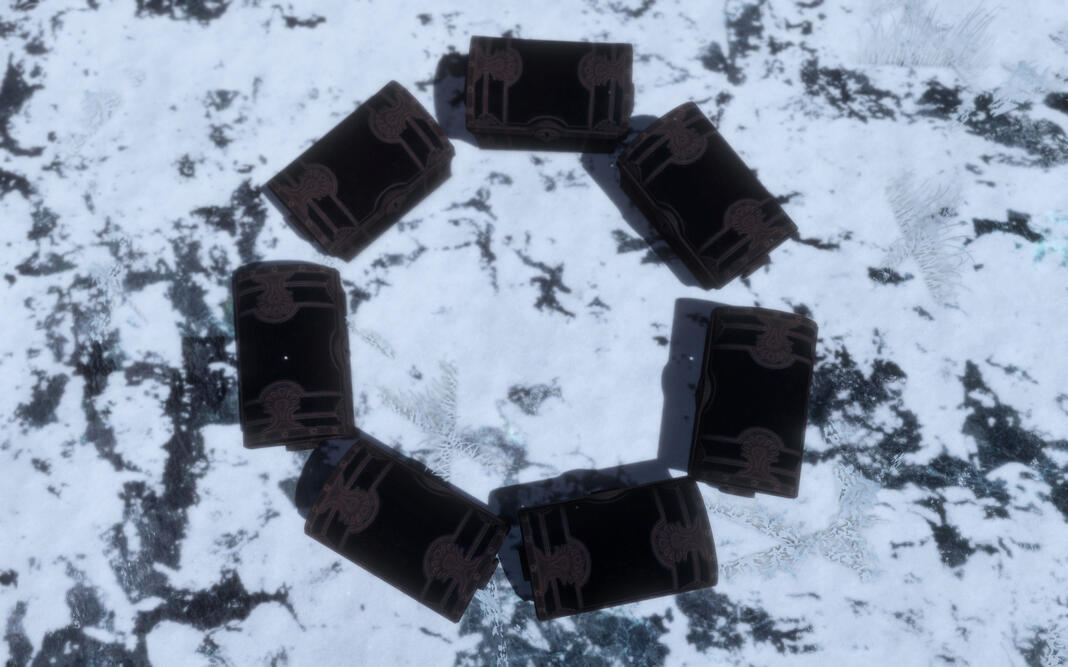
Bounty Summary: There have been unsettling rumors as of late, circulating around Ishgard. Adventurers with wanderlust have mentioned the same thing; around Hemlock in Coerthas Western Highlands there are chests? A group of them. Wooden, seems to be unlocked. No one has dared to open them, as there seems to be bad vibes radiating off of them. Some have even spotted blood nearby. Some have brought up mimics, yet no one is brave enough to check. Perhaps someone should? Just be extra careful. If they are, they seem extra dangerous.
How to Identify: A group of wooden chests around Hemlock. In a perfect circle.
Location: Coerthas Western Highlands, Hemlock
Trophy/Bounty Requirements: Return with the set of chests. After defeating them. If they are mimics.
Reward: 85,000g

The Smallest Ochus
Difficulty: ★ ★
Bounty Summary: A group of rather small Ochu have been seen around Upper La Noscea! Small as they are, they have decided to wander about. Unfortunately, not just wander. They use their small size to creep up on people and strike. A rather aggressive group! Someone needs to handle these small seedkin. Do be careful about their paralytics and poisons.
How to Identify: A group of small Ochu wandering about Upper La Noscea. Lingers close to pathways, but not close enough to bother any major areas. They lay in wait.
Location: Upper La Noscea
Trophy/Bounty Requirements: Bring back a jar of Ochu leaves.
Reward: 45,000g
Wayward Beasts
The following bounties typically involve the task of hunting down a rogue beast or a monstrosity endangering the livelihood of the realm. Proceed with caution and keep your wits about you, beasts of the earth and the other world will not hesitate to defend their stomping grounds or fight for their prey, no matter how depraved or chaotic.

Mechanical Wonders
Difficulty: ★ ★ ★
Bounty Summary: Unfortunately, an issue has risen within Labyrinthos. An automaton has, well, lost itself. Not that it can’t find the one who made it and the one it serves, it simply does not want to. Rather, something within it has caused the creature to go haywire. It almost paroles the pathways and strikes any scholar that might be off the beaten path. Many have already been treated for wounds. Unfortunately, no one knows who made the creature and the creator isn’t stepping up. That aside, someone handle this rogue automaton, please.
How to Identify: A small automaton dressed up like a mage, fit with a staff. Prone to violence. Will attack you the moment it sees you on its path.
Location: Sharlayan, Labyrinthos
Trophy/Bounty Requirements: Ensure the automaton is not BROKEN, but BEATEN. Enough so that it doesn’t work anymore. Bring said broken automaton to Nightraid HQ. Future developments may arise.
Reward: 50,000g

Iravati of Yedlihmad
Difficulty: ★★★
Bounty Summary: A labor Marid used in heavy caravan work near Yedlihmad has turned dangerously unstable after swallowing a satchel of concentrated restorative draughts meant for export. What began as agitation has worsened into full rampage behavior: shattered wagons, crushed pens, and several handlers sent fleeing for their lives. The beast is intelligent enough to recognize ropes, hooks, and harnesses, and now attacks anyone carrying them. This is a tragic case, not a malicious one, but it must be dealt with before it reaches the market roads.
How to identify: Massive tusked quadruped with blue alchemical burns around the mouth and trunk, one cracked brass harness-bell still hanging from its left side.
Location: Thavnair, caravan roads outside Yedlihmad.
Trophy / Bounty requirements: Return the broken harness bell and proof of either sedation, relocation, or merciful kill.
Reward: 66,000 gil

Vajrakumara Breakback
Difficulty: ★★★
Bounty Summary: An armored armadillo of exceptional size has begun battering through irrigation barriers and uprooting medicinal plots outside the Great Work. Several farmers tried to drive it off with pikes and stones, only to discover the creature was more than willing to answer in kind by hurling rocks with its tail. Its shell has already turned aside most casual efforts to stop it, and each failed attempt has only made it bolder. If left unchecked, it will reduce an entire season’s cultivation to rubble.
How to identify: Heavy-boned armadillo with pale stone growths along the back and a tail often clutching a dark crystal or river rock.
Location: Thavnair, cultivated outskirts near the Great Work.
Trophy / Bounty requirements: Recover the tail-stone it wields, or proof of live subdual and relocation.
Reward: 58,000 gil

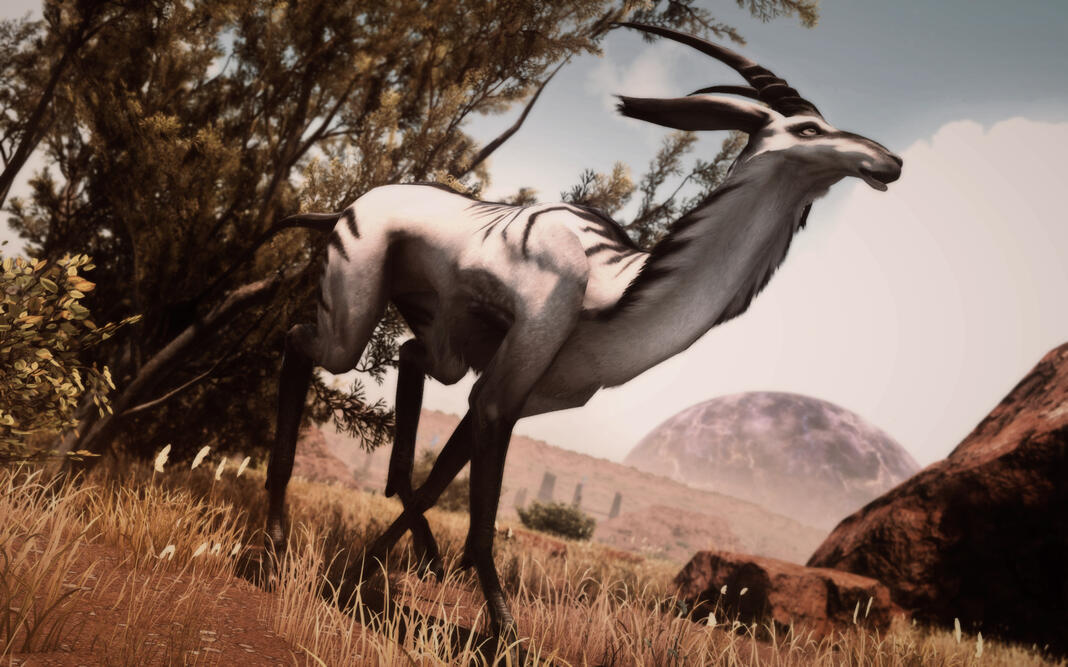
Dusthorn Alpha
Difficulty: ★★
Bounty Summary: A huge antelope buck has gone savage in the dry badlands, driving smaller herds into train lines and goring would-be hunters who come too close. Local riders first thought it was ordinary rutting aggression, but the beast has continued well past the season and now seems to enjoy scattering caravans before vanishing into dust-choked ravines. It has already caused multiple wrecked wagons and one fatal trampling. Someone needs to put it down before the next convoy comes through blind.
How to identify: Long-horned antelope with one horn chipped near the tip, a striped hindcoat caked in red dust, and a habit of stamping before it charges.
Location: Tural, Shaaloani scrublands north of Hhusatahwi.
Trophy / Bounty requirements: Bring back one horn or proof of fatal shot.
Reward: 36,000 gil

Cliffwool Patriarch
Difficulty: ★★
Bounty Summary: A mature aldgoat ram has claimed a high crossing used by traders and local gatherers, slamming rivals from the trail and knocking supply bundles into the ravine below. Its aggression has worsened after losing part of its herd, and now even armed escorts are getting forced back. The beast has learned the value of elevation and charges downhill whenever challenged. Hunters are advised not to underestimate what looks, at first glance, like simple livestock.
How to identify: Thick-necked ram with broad curling horns, one torn ear, and wool packed with cliff moss and gravel.
Location: Tural, mountain paths in Urqopacha.
Trophy / Bounty requirements: Return one horn tip or proof of successful relocation.
Reward: 33,000 gil

Life for a Life for a Life
Difficulty: ★ ★
Bounty Summary: Bana-01 was a mammet in possession of the alchemist Veer’li, created to help him in the laboratory. That’s where it served him faithfully for many turns, until neighbors found Veer’li murdered in his home. Nearby, they found blueprints for a Bana-02, and Bana-01 was nowhere to be seen.
How to identify: A rogue mammet with a black helm
Location: Last seen somewhere in The Perfumed Rise, Thavnair
Trophy / Bounty requirements: Disable Bana-01 and return with its core
Reward: 37,000g for the mammet’s core, bonus 10,000g if the core is still in good condition
Wanted Persons
The following bounties revolve around the take down of notorious or dangerous individuals. The targets are to be engaged with full caution, listed as the most volatile or heinous of criminals, the conditions for the bounty will likely call for the demise of the target or they will pose such a threat in combat there is no alternative.

In A Blaze of Glory
Bounty Summary: Old grudges die hard, and unfortunately, sometimes they die brazen, too. Not all the Mamool Ja of Mamook are so eager to embrace their newfound peace. Led by Holaa Ja, a Boonewa with color-shifting scales, a group of fires has been set around Iq Br’aax and the derigible landing. While the Dawnguard and nearby villagers have their hands full keeping the flames from spreading, they have need of capable adventurers to apprehend Holaa Ja and his cronies. Be warned; they’ve fortified the Nightstalker’s Shadow and are prepared for resistance.
How to identify: A large Boonewa Mamool Ja, escorted by an entourage of Mamool Ja from various tribes.
Location: Nightstalker’s Shadow, Yak’Tel
Trophy / Bounty requirement: Subdue Holaa Ja and disperse his followers, taking proof of the Boonewa’s capture or death.
Reward: 68,000 gil for one of Holaa Ja’s color-shifting scale

Nasha the Honey Knife
Difficulty: ★★★
Bounty Summary: Nasha ingratiates herself with merchants, caravan guards, and junior officials, then vanishes with payroll, route writs, and anything not nailed down. Her latest work in Thavnair went further than theft: one stolen cargo manifest has already been used to stage an ambush elsewhere. She has become a direct threat to every road touched by trade gossip and loose trust. Bring her in before she slips onto another outbound vessel or reinvents herself yet again.
How to identify: Seeker Miqo’te with honey-brown eyes, gold bangles up both forearms, and a floral dagger worn at the back of the waist.
Location: Thavnair, inns and merchant courts around Mehryde’s Meyhane.
Trophy / Bounty requirements: Recover her floral dagger, stolen writs, or capture alive.
Reward: 61,000 gil

Hozan the Cipher
Difficulty: ★★★
Bounty Summary: A former confidential scribe of a noble house in Kugane, Hozan vanished after leaks of sensitive military dispatches resulted in disaster. Under suspicion of selling secrets to rival clans, he has been sighted using forged papers and false identities across Hingashi. Capturing him is vital to prevent further destabilization.
How to identify: A lithe Hyur with ink-stained fingers, wearing layered robes with mismatched seals. Always seen clutching a set of scrolls bound with red thread.
Location: Tales place him near Kugane’s Rakuza District or humble teahouses.
Trophy / Bounty requirements: Capture Hozan alive with his red-threaded scrolls as proof.
Reward: 60,000 gil, with a bonus for scrolls detailing his dealings.

Gobbie Cult
Bounty Summary: A prior issue with a Goblin cult has reared its head once more. The same cult as before but, this time, the leader changes. According to a Goblin by the name of Whistleblox, they have been creating tunnel systems within the mountains of Dravania. All to travel to other areas and spread their cult. Through kidnapping, of course, which they have. Those goblins are kept within the tunnel system. Someone needs to take the cult out for good and close off the tunnel system. Careful of explosives. Any goblins you find captured, return to Idyllshire.
How to Identify: A small group of Goblins near the mountains of the Forelands. Has formed intricate tunnels within the mountains to travel.
Location: The Dravanian Forelands
Trophy/Bounty Requirements: Return any captured Gobbies to Idyllshire, return with a writ of completion from Whistleblox.
Reward: 75,000g

The Mage Killer
in progress
Difficulty: ★ ★ ★ ★ ★
Bounty Summary: A deadly killer has been on the loose as of late. Specifically, one that targets mages. No novice spell casters either, his targets being those comfortable with the weave of aether. The man wields a dagger and firearm. What makes him particularly dangerous is a stone he wears. It glows with a faint, hungry light. One managed to get away from his wrath, barely so, but mentions the man doesn’t speak. Doesn’t make a sound. The stone itself EATS magic. Needless to say, someone needs to handle him with nothing more than physical prowess.
How to Identify: A man dressed in a trenchcoat, mask, and hat. He keeps a fine jade dagger upon him, alongside a firearm that seems good for range.
Location: Last seen wandering about Shaaloani.
Trophy/Bounty Requirements: Bring back his jade dagger and rifle.
Reward: 100,000g

Sorren Bale
Difficulty: ★★★
Bounty Summary: Sorren Bale has been peddling false beast routes, diluted antivenoms, and forged “safe passage” maps to inexperienced hunters and caravan hands. At least three attacks in the western wilds can be tied to information he knowingly sold as fact. Rather than lie low, he has simply moved his trade to new roads and fresh victims. He is wanted alive if possible, so every buyer he cheated can be traced through his ledgers.
How to identify: Midlander Hyur with polished boots, trimmed beard, and a silver tooth he shows whenever a lie begins landing well.
Location: Tural, waystations, and saloons across Shaaloani.
Trophy / Bounty requirements: Capture alive and turn over to authorities, and recover route notes, contracts, or ledgers as proof.
Reward: 60,000 gil

The Kitsune
in progress
Difficulty: ★ ★ ★ ★
Bounty Summary: No, not an actual kitsune. Rather, a Hyur man who wears a kitsune mask to hide his features. Not only this, but a penchant for flame. Flame that he uses for arson. Various buildings, stalls, even shrines, etc. have caught flame due to his antics. He has been cornered once, but the pursuers ended up as nothing more than ash. This is a very dangerous individual and needs to be handled.
How to Identify: A man dressed in haori, alongside a mechanical looking fox mask.
Location: Kugane
Trophy/Bounty Requirements: Return the man’s mask.
Reward: 80,000g

Sable Jarek
Difficulty: ★★★
Bounty Summary: Once a trusted caravan guard in Thanalan, Sable Jarek turned outlaw after disappearing with a payroll chest meant for refugee laborers. Since then, he has taken to ambushing lightly guarded merchants and selling stolen goods through smaller desert camps, always moving before proper retaliation can form. What makes him especially dangerous is not raw strength, but patience; he studies the habits of caravans, cuts supply lines first, and leaves false trail markers to send pursuers in circles. Several travelers have already died following his decoys into beast territory.
How to identify: Highlander man, tan, a split brow over the left eye, and a black half-cloak stitched with brass coin charms taken from past victims.
Location: Southern Thanalan, between Forgotten Springs and the merchant roads near Byregot’s Strike.
Trophy / Bounty requirements: Capture alive if possible and recover the payroll chest, route markers, or his coin-charmed cloak.
Reward: 58,000 gil

Mezira Quill
in progress
Difficulty: ★★
Bounty Summary: Mezira Quill posed as a field scholar in Gridania, offering “safe” wilderness surveys to botanists, gatherers, and novice adventurers. In truth, she has been mapping secluded sites for poachers and relic smugglers, then vanishing before the traps are sprung. While not a frontline killer herself, her work has led directly to multiple disappearances in the Shroud. Her forged credentials are good enough to fool most common folk, and she has already begun reinventing herself in new settlements.
How to identify: Duskwight Elezen with ink-black hair pinned in a low knot, forest green traveling coat, and a satchel filled with rolled survey charts stamped with forged seals.
Location: Black Shroud, commonly sighted between Bentbranch Meadows and Quarrymill.
Trophy / Bounty requirements: Recover her satchel, forged permits, and bring her in breathing for questioning.
Reward: 43,000 gil

Pashren Dhal
in progress
Difficulty: ★★★
Bounty Summary: A silver-tongued lalafell operating through Thavnair’s trade circles, Pashren Dhal specializes in moving stolen medicines, diluted tonics, and restricted alchemical stock through legitimate-looking exchanges. He is wanted not merely for theft, but for knowingly selling compromised remedies during shortages, causing avoidable deaths among the sick and poor. With enough charm to evade suspicion and enough coin to buy silence, he has become a festering problem in the markets.
How to identify: Dunesfolk Lalafell with a saffron waistcoat, jeweled monocle over the right eye, and fingers stained orange from alchemical powders.
Location: Thavnair, market courts, and private trade houses around Radz-at-Han.
Trophy / Bounty requirements: Capture alive and recover any ledgers, marked vials, or falsified trade manifests.
Reward: 62,000 gil
Mononoke Threats
With the Far East serving as the home for the company and the leader no stranger to the home realm of yokai it often falls to NightRaid to assist the Apparent Realm from the ongoing barrage of threats making their way from the Hidden Realm. Here is the list of bounties that one way or another revolve around the supernatural entities of the East, never underestimate your targets.

Temple Bell Wraith
Difficulty: ★★★★
Bounty Summary: A ruined hill temple has begun tolling a bronze bell at impossible hours, despite the rope having rotted through seasons ago. Those who climb the steps hear old prayers spoken in the voices of their dead and find themselves kneeling before an altar they do not remember approaching. The entity haunting the grounds grows stronger with every offering left in fear. One novice priest has already cut his own palms open to “feed the silence.” This threat needs ending before grief turns worshipful.
How to identify: A smoke-dark figure gathered around the temple bell, face hidden beneath hanging prayer streamers, with a voice that changes to match whoever listens.
Location: Yanxia, ruined hillside temple north of the One River.
Trophy / Bounty requirements: Bring back the severed bell-clapper wrapped in blessed cloth or proof of completed banishment.
Reward: 74,000 gil

Hinnagami of Doomed Fortune
in progress
Difficulty: ★
Bounty Summary: On a trip to Kugane, Hollow Oak purchased a tengu doll from a charismatic vendor said to grant wishes. After taking her souvenir home, Hollow learned two things: that the vendor was quite literal about granting wishes, and that the wishes granted by the tengu doll come at the cost of some great misfortune. Worse, the doll has started demanding that Hollow make wishes, and when Hollow tried to get rid of it, the doll followed her home.
How to identify: The tengu doll possesses a Hinnagami, a powerful wish-granting spirit.
Location: Hollow Oak’s home in The Goblet, Thanalan.
Trophy / Bounty requirements: Destroy/exorcise the Hinnagami and return with the inert doll as proof.
Reward: 28,000g

Umi Nyōbō (海女房)
Difficulty: ★ ★ ★ ★
Bounty Summary: Umi Nyōbō, yokai that resemble human women, though keep a piscine look about them. Scaly skin, toes and fingers webbed, and sharp teeth. In this case, one has been terrorizing the Ruby Sea. May it be fishers or even the kojin. While they can know sense, this one has lost all sense. When on shore it will attack fishers with reckless abandon with a knife in hand. Eating them. Someone needs to handle her and bring peace to the sea.
How to Identify: A Raen looking woman, though on closer look has scales, webbed fingers, and crazed looking eyes. Always carrying a sharp knife. Wearing tattered robes. Will attack you on sight. If not on the shore, she is in the sea somewhere. It is not suggested to fight her in the water.
Location: The Ruby Sea
Trophy/Bounty Requirements: Bring back a small jar of her scales.
Reward: 90,000g

Nuppeppō (ぬっぺっぽう)
Difficulty: ★★
Bounty Summary: A grotesque, flesh-like mononoke has begun appearing in the alleyways of Kugane’s lower districts at night, leaving a trail of rancid air and faintly oozing footprints. Witnesses report nausea, fainting, and moments of lost time after encountering it. Local shrinekeepers believe it to be a Nuppeppō, a spirit of abandoned corpses and unkept graves, drawn to areas of growing unrest and corruption.
How to identify: A featureless, lumpy humanoid that smells of rotting meat. Moves silently. Nearby animals refuse to approach.
Location: Kugane, in the alleyways between the Rakuza District and backstreets behind the docks.
Trophy / Bounty requirements: Recover a sample of its rotting flesh in a blessed seal box.
Reward: 36,000 gil, with an extra 4,000 gil if purification rites are also performed on-site.

Kinko (禁狐)
Difficulty: ★★★
Bounty Summary: A fox-spirit tied to forbidden gaming dens has begun slipping through the pleasure houses and backroom parlors of Kugane, leaving ruin in its wake. Coin purses empty overnight, honest men wager away family heirlooms, and those who swear they’ve seen the creature speak of dice that roll on their own and cards that bleed ink when turned. This Kinko does not merely haunt gamblers; it cultivates them, feeding on obsession until households collapse under debt, violence, and shame. Several dens have already burned their tables and shuttered their doors, but the spirit simply moves on to the next lamp-lit room.
How to identify: Most often glimpsed as a lean fox with dark fur and coin-bright eyes beneath gambling tables or behind paper screens. In stronger manifestations, it takes on a half-spoken form in a gambler’s robe, with fox ears, too many teeth, and pawprints that smell faintly of ash and sake.
Location: Hingashi, Kugane, backroom gaming parlors and hidden dens around the Rakuza District.
Trophy / Bounty requirements: Recover one cursed die, card, or gaming token still carrying the spirit’s aether, sealed in blessed cloth. Proof of the den’s cleansing is highly encouraged.
Reward: 59,000 gil

(鰻姫) Unagi Hime
in progress
Bounty Summary: While typically docile and isolated in deep sea waters, the appearance of a rather aggressive and bloodthirsty Unagi Hime has made an appearance along the shores of the Ruby Sea. Some sailors flee with a piece of their arm gnawed off upon encountering her– her carnivorous appetite has now made it to mortals.
How to identify: A woman dressed in a soaked kimono, missing clogs, pale skin and a face resembling a fish.
Location: Spotted in various shores of the Ruby Sea
Trophy / Bounty requirements: Her deep sea-soaked kimono
Reward: 55,600g

Kaninotoko no Igyō (蟹の床の異形)
in progress
Difficulty: ★★★★
Bounty Summary: A monstrous shoreline apparition has begun surfacing in the shallows near a neglected cove, dragging fishers from the surf and overturning small craft before vanishing beneath the foam. Local rumor compares it to the old tales of Kaninotoko no Igyō, a grotesque being tied to tidal inlets and haunted coastal waters. Those who survive an encounter speak of a warped, crab-like horror lurking just beneath the surface until moonrise, when it hauls itself into view in full. The shoreline has already been abandoned after dusk, and nearby nets are coming back shredded and slick with black brine.
How to identify: A misshapen coastal horror with a crab-like lower body, too many jutting limbs, and a head or upper frame warped into something almost humanoid when seen from a distance. Its approach is marked by churning shallows, broken shells, and a clicking sound like wet bone striking stone.
Location: Othard, Ruby Sea, shallow coastal inlet near Isari.
Trophy / Bounty requirements: Return one pincer tip or shell fragment taken from the creature after confirmed subdual, along with witness proof that the cove is safe to navigate again.
Reward: 78,000 gil

Yamawaro (山童)
Difficulty: ★★
Bounty Summary: Woodcutters and pilgrims traveling the mountain paths have reported a shaggy childlike creature ruining tools, overturning bundles, and pushing travelers toward cliff edges before scampering off laughing. Though small, this Yamawaro has grown bold enough to target lone workers repeatedly, and one shrine porter was nearly lost in a ravine after his carrying frame was cut loose from behind. Mischief has become a menace, and the mountain villages are done tolerating it.
How to identify: Small, broad-limbed yokai with wet-looking dark hair, muddy hands, and a habit of crouching just above eye level on rocks or low trees.
Location: Othard, mountain passes in the peaks bordering Yanxia.
Trophy / Bounty requirements: Return its stolen tool-bundle charm or capture one handprint in a blessed clay seal.
Reward: 35,000 gil

Odd jobs
Various smaller and simple jobs that do not quite require combative expertise. Jobs such as: gathering, delivery, cleaning, menial chores, research, investigation. These jobs do not pay as much as the given bounty jobs, generally.
Spirit Communing
When the balance between the realm of the mortals and that of the otherworldly begin to topple it's up to the spiritually trained and aware to help stop the plight before matters get worse. Be aware, these jobs require utmost caution and serious attention.

Song of the Weeping Stone
Difficulty: ★★
Job Summary: On the rocky shore near Isari, an old sea stone has begun to emit a melancholy lament at dusk — a low keening that unsettles fishermen and disrupts sea trade. Elders say the voice belongs to a drowned sailor spirit bound to the rock. An experienced communer is sought to interpret the lament and free the spirit.
Location: Ruby Sea, shore near Isari rock formations.
Job requirements: Perform a seaside communing rite at dusk, interpret the spirit’s message, and release its aether so the lament ends.
Reward: 48,000 gil, and a warded sea shell from local fishers to aid in future communions.

Voices Beneath the Tidegate
Difficulty: ★★★
Job Summary: In the Ruby Sea, a tidegate shrine long used by fishermen for safe-passage offerings has begun sounding with voices each dusk, though no priest tends it now. Nets snag on nothing, oars split without cause, and boats passing too near report hearing dead relatives call from beneath the surface. The local folk do not believe this to be a hostile haunting.. yet. A skilled communer is sought to determine whether the spirits below ask for remembrance, release, or warning.
Location: Ruby Sea, neglected tidegate shrine near Isari.
Job requirements: Conduct a twilight communion, present salt, rice, and lamp offerings, and interpret the will of the spirits without provoking them.
Reward: 54,000 gil and a tide-blessed ward charm

The Quiet Between Hoofbeats
in progress
Difficulty: ★★
Job Summary: Following the Mammoth herd incident, hunters report hearing distant trumpet-calls at night even after the herd has moved on. Elders believe the spirit of a fallen matriarch lingers, agitated by the violence. A communer is required to soothe the residual aether before it manifests into something more dangerous.
Location: Coerthas Western Highlands, near Ashpool Lake.
Job requirements: Conduct twilight rites, offer bone and wool tokens, and interpret any ancestral manifestation.
Reward: 46,000 gil and a frostbound ward charm.

HELLO. PLAY.
Difficulty: ★
Job Summary: A worn down piece of parchment has arrived to Nightraid. It says; ‘HELLO. PLAY WITH US. WE HIDE. YOU SEEK.’ Given past letters of similar content, it seems the Kodama around Yanxia wish to play hide and seek. Again. Find them!
Location: Yanxia
Job requirements: Find all the Kodama that wish to be found. Return with a charm that they will give you for winning their game.
Reward: 10,000g

Whispers Beneath the Water
Difficulty: ★★
Job Summary: Fisherfolk in Isari claim the voices of drowned sailors can be heard beneath the tide at dusk. They request an experienced spiritual mediator to approach the shoreline, commune with the spirits, and lay them to rest before the voices lure more into the waves.
Location: Ruby Sea, rocky coast north of Isari.
Job requirements: Conduct rites, interpret the spirits’ grievances, and ensure the site’s aether remains stable.
Reward: 46,000 gil and a sea-blessed warding token.

Best Friends Forever
Job Summary: Shroud native Yhantra has been visited the past few nights by a small, friendly spirit that she can’t quite define. However, given the spirit’s habits, she suspects it’s her late dog Kod’a coming home to his old bed and toys. Help Yhantra give one last farewell to her faithful friend before the canine’s spirit can be put to his final rest.
Location: The Lavender Beds, The Black Shroud
Job requirements: Report to Yhantra’s house and help put the dog’s spirit at ease. Return with writ of confirmation.
Reward: 28,000g
Occupational Shifts
The true odd jobs! Listed below are a variety of positions that need to be covered in the short and long term, typically of the domestic and manual labour nature!

Poolside Wellness Wanted
Job Summary: Snowsoak Springs is preparing themselves for a busy opening season, especially as the warmer months approach. With that in mind, they’re looking for massage therapists. Permanent positions available for those who do well.
Location: Snowsoak Springs, The Firmament
Job requirements: Offer massages to clients who visit the Springs. Professional experience required. Return with writ of confirmation.
Reward: 6,000g per day

Fishin’ Time!
Job Summary: The Fishermens’ Guild has gotten a sudden influx of newcomers lookin’ to FISH! Unfortunately, they just don’t have enough people there to truly help their newbies. They’re hoping for someone that knows how to handle a fishing rod to come in and help out!
Location: Limsa Lominsa
Job requirements: Help out with the new fishers at the Guild! Return with a timesheet.
Reward: 5,000g for each day helping!

The Hard Rush
Job Summary: Every few moons, groups of Ishgardian citizens tour Dravania to learn of the Dragonsong War. During the trip, it’s customary to stop by The Hard Place in Idyllshire for a drink and a bite to eat, so The Hard Place is looking for temporary staff to help with the rush. You’ll be tasked with making drinks and taking plates to tables. Swine suit not required.
Location: Idyllshire, The Dravanian Hinterlands
Job requirements: Report to The Hard Place. Return with a signed time card with the number of hours worked.
Reward: 3,000g per hour, plus tips

Tools of the Trade
Difficulty: ★ ★
Job Summary: Blacksmiths and craftsmen in need of extra hands have posted requests for assistance in handling metalwork, leathercraft, and basic repairs. With a surge in orders for reinforced tools, armor, and weapons, skilled artisans or willing laborers are encouraged to help keep production steady.
Location: Various forges and workshops in Ishgard.
Job Requirements: Assist in forging and repairing weapons, crafting tools, or assembling armor. Tasks may include bellows operation, supply transport, and material preparation. No prior smithing experience required, but efficiency and precision are valued.
Reward: 38,000 gil, plus a choice of a finely crafted utility knife or reinforced gloves as thanks for your labor.

Cheap Laughs
Job Summary: There are fewer hot springs visitors during the cold months, leaving the owner of the Bronze Lake Tavern to seek other means of getting people in the door. That’s when the idea of a comedy night occurred to him. Do you think you have what it takes to keep a crowd laughing? If you’re good, you’ll be asked to return for multiple nights.
Location: Camp Bronze Lake, Upper La Noscea
Job requirements: Perform a stand-up routine at the Bronze Lake Tavern. Must have at least two hours of material. Return with writ of completion.
Reward: 5,000g per night

Innkeeper Needed!
Job Summary: Bokairo Inn, popular as ever, is in need of workers! Specifically someone to keep an eye on the front desk, lead people to their rooms, and keep track of who’s where. They don’t need someone forever, just long enough until someone takes up the position.
Location: Kugane, Bokairo Inn
Job requirements: Help the Bokairo Inn and return with a timesheet.
Reward: 5,000g per day worked
Search and Rescue
Below are the listings of reported missing peoples, animals and items across the realm, though they may also be posted locally. Safe return of the given target is obligatory.

Gnot So Gneighborly
Job Summary: Ivenne has recently had the pleasure of settling into retirement-- only to realize the pettiness of everyday life is not so easily left behind. Her neighbor Joisie has something in common; they both enjoy lawn ornaments. And while one might enjoy a friend found through a shared hobby, Ivenne finds their interactions growing more curt. Short. Pointed… All of this to say, a coveted garden gnome is missing from Ivenne’s collection Locate and retrieve it while remaining unseen, and keep an eye out for anything interesting along the way.
Location: Ishgard, Coerthas
Job requirements: Retrieve Ivenne’s coveted garden ornaments from Joisie’s clutches without getting caught. Bring something interesting back for a bonus.
Reward: 10,000 gil for the garden gnome, 5,000 gil for an additional ornament.

Vanished at Dawn
in progress
Difficulty: ★★
Job Summary: A courier carrying supplies vanished on the road to Castrum Oriens at first light. Only scattered goods were found, suggesting an ambush or collapse. The Adders request adventurers to track the courier, retrieve them alive, and secure any remaining cargo.
Location: The Fringes, road between Castrum Oriens and Riverbend.
Job requirements: Locate the courier, provide aid, and deliver the cargo.
Reward: 48,000 gil, plus a personal bonus from the Adders’ captain.

Out at Sea
Job Summary: Recently in Limsa there has been a rumor going about. A smaller boat left the docks to follow a fishing route. That a Highlander couple were going out on a fishing date. Specifically along the Bloodbrine Sea. This isn’t an odd happenstance, fishing boats go out all the time. Couples fish together. However, the rumors mention that the boat hasn’t come back yet. Some are beginning to worry what would make a boat disappear. Some are wondering if anyone is looking into the matter. Others hope the couple is alright. This is where you come in.
Location: Vyllbrandt, last seen near Bloodbrine Sea.
Job requirements: Find the couple, this will definitely take a bit of tracking. Bring back a writ signed by said couple.
Reward: 65,000g

Trail Closure
Difficulty: ★ ★ ★ ★ ★
Job Summary: Tales of the Dawnservant’s valiant ascent up Worqor Zormor have created quite the tourism opportunity for Yok Tural. Hiking enthusiasts come from the star over to attempt the Feat of Proof for themselves–with a Pelupelu guide, of course. But while guide Piplu was leading a group of Eorzean tourists up the mountain, a rockslide struck, and Piplu came down from the mountain alone. Piplu needs a rugged adventurer to rescue the hikers, but beware–Worqor Zormor is an unforgiving climb, made moreso by the recent rockslide!
Location: Worqor Zormor, Urqopacha
Job requirements: Find the missing hiking party and bring them back to Tuliyollal where medical aid awaits.
Reward: 93,000g for writ of completion.

Light in the Ruins
Difficulty: ★★
Job Summary: A novice thaumaturge seeking ruins for study has gone missing in the caves beneath Bronze Lake. The tunnels are unstable and partially flooded, with pockets of corrupted aether reported by previous surveyors. Maelstrom scouts are requesting assistance in locating and safely extracting the student.
Location: Upper La Noscea, Bronze Lake cave network.
Job requirements: Locate the missing thaumaturge, stabilize their condition, and navigate collapsed paths. Waterproof gear and aetheric awareness are advised.
Reward: 42,000 gil, and a magical ring enchanted with minor shielding aether by the Thaumaturge’s Guild

Toad Troubles!
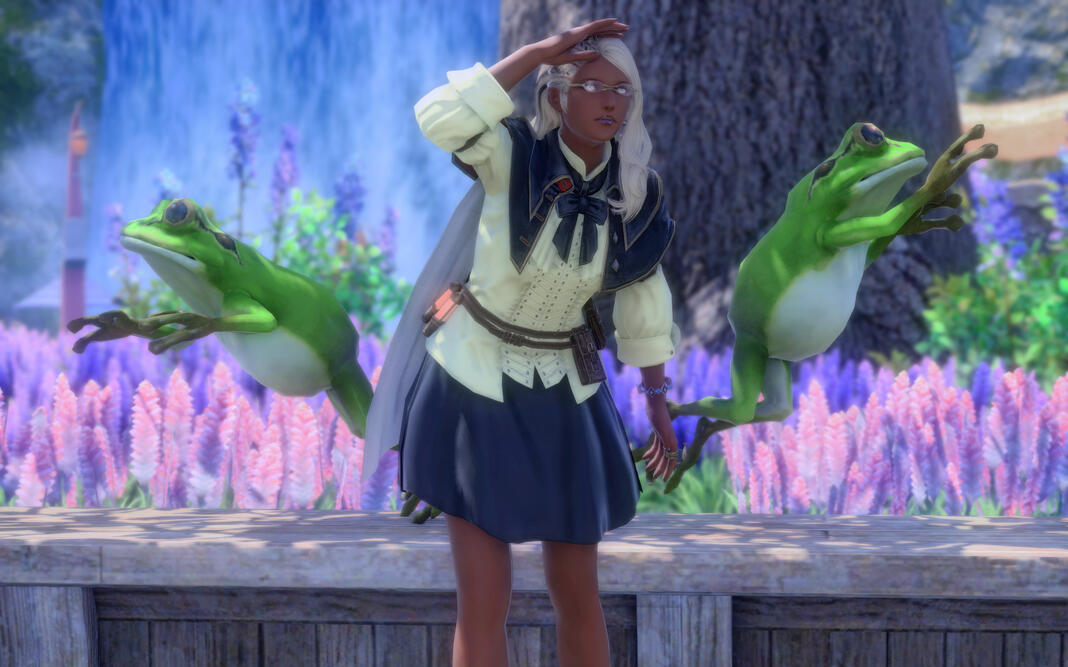
Job Summary: A woman by the name of Amelia has an obsession with toads! She takes care of ten, making sure they’re all given proper love and care. Unfortunately, all ten of them managed to escape her home! She isn’t exactly sure how, but it certainly happened! She’s hoping that someone will wander around the Lavender Beds with her and find them.
Location: The Lavender Beds
Job requirements: Bring back all ten toads to Amelia! Return with a writ of completion.
Reward: 20,000
Deliveries and Escorts
The world is ever moving and as such that means the people and their produce must keep moving too! Below are listings placed by clients looking for assistance with moving, protecting, guiding and transporting individuals or their belongings from one place to another with absolute priority and safety.

Where It Rightfully Belongs
Job Summary: The wave of interest in Tulliyollal’s rite of succession has seen travelers from across the globe setting sail for the far-west nation! With it comes the Good, the Bad, and the Ugly. While whisperings of stolen artifacts from locals is unfortunately nothing new, some particularly foolish adventurers seem to have made off with artifacts from the Giants of Yok Tural. Fortunately, the artifacts have already been recovered. But the nearby Pelu Pelu intend to deliver it back to their owners, and they seek a seasoned adventurer to keep them safe from potential… shenanigans.
Location: Starts in Wachunpelo, Yok Tural
Job requirements: Ensure the Pelupelu return the artifact to the Yok Huy, and keep them and their alpacas safe from any potential interception for a writ of completion.
Reward: 65,000 gil for writ of completion

Silk Across the Salt
Difficulty: ★★★
Job Summary: A shipment of ceremonial silk must be escorted from Kugane to Radz-at-Han. The cargo is delicate, valuable, and already rumored among smugglers.
Location: Departure from Kugane, arrival in Radz-at-Han.
Job requirements: Guard the shipment throughout transit and ensure no tampering.
Reward: 65,000 gil and a bolt of Thavnairian silk.

Golden Road Convoy
Difficulty: ★★★
Job Summary: A convoy transporting gilded fabrics from Kugane to the Doman Enclave has requested protection through bandit-prone regions. Rumors suggest rogue samurai intend to seize the shipment before it reaches the border. Escorts are needed to defend the wagons and ensure the goods reach their destination unspoiled.
Location: Route from Kugane’s Rakuza District to the Doman Enclave, Yanxia.
Job requirements: Guard the convoy, ensure all crates are accounted for, and protect merchants through the border passage.
Reward: 68,000 gil and a bolt of silken cloth as a token of gratitude from the trade guild

Red Silk to Radz-at-Han
Difficulty: ★★
Job Summary: A shipment of pure red silks from Hingashi must be delivered intact to the alchemists’ guild in Radz-at-Han. Pirates and black market agents are aware of its value, and the client seeks an escort capable of defending the shipment during the voyage.
Location: Departure from Kugane, bound for Radz-at-Han.
Job requirements: Guard the cargo throughout transit and ensure it reaches the guild unspoiled.
Reward: 42,000 gil and a small bundle of Thavnairian incense.
Healing and care
If you harbour a penchant for stabilizing or improving the health and well being of others then we implore you take a look at the following listings! The world has no shortage of those requiring aid, be it on going struggles of combat and conflict, disasters of the elements or rebuilding what has been lost. Experienced healers, those with a gentle touch or a good heart will find their skills put to full use and very much appreciated.

Baby Boom
Job Summary: The midwives of St. Reymanaud’s Cathedral are short-staffed with spring illnesses at the most inopportune time. There’s several expecting mothers in The Firmament, due any day now. They could really use the help of an experienced midwife.
Location: St. Reymanaud’s Cathedral, Foundation
Job requirements: Report to the cathedral and accompany the midwives to the clients’ homes in The Firmament. Women preferred, childbirth experience required. Return with writ of confirmation.
Reward: 6,500g per day

Hands for the Weary
Difficulty: ★★
Job Summary: A remote settlement has requested aid after an illness spread through its laborers. Healers are needed to stabilize patients and prepare remedies before supplies run out.
Location: Lower La Noscea, small settlement near Candlekeep Quay.
Job requirements: Treat the ill, prepare medicines, and instruct locals on continued care.
Reward: 42,000 gil and a cache of restorative supplies.

Aid for the Ailing
Difficulty: ★ ★ ★
Job Summary: Several remote villages have reported increased illness and injury due to harsh weather and limited access to healers. Local caretakers seek those with medical knowledge, potion-brewing skills, or steady hands to assist in tending to the sick and wounded. Any aid could mean the difference between recovery and tragedy.
Location: Settlements in the Dravanian Forelands and Coerthas Western Highlands.
Job requirements: Provide first aid, administer medicine, and assist in preparing herbal remedies. Those skilled in aetherial healing or alchemy may be asked to perform more advanced treatments.
Reward: 50,000 gil, along with a supply of high-quality restorative potions for future use.

Windswept Recovery
Difficulty: ★ ★
Job Summary: A group of travelers crossing the Coerthas Western Highlands has been struck by an unexpected ice storm, leaving several members frostbitten and suffering from severe hypothermia. The survivors have taken refuge in Falcon’s Nest, but urgent medical assistance is needed to stabilize their conditions. House Durendaire has issued a request for skilled healers to aid the wounded and prepare restorative elixirs.
Location: Falcon’s Nest, Coerthas Western Highlands.
Job Requirements: Tend to the wounded, provide warmth and shelter, and help craft medicinal salves using local herbs and materials. Those with knowledge of aetheric healing are encouraged to assist.
Reward: 35,000 gil, along with a House Durendaire-inscribed talisman for cold resistance.
Crafting and Gathering
Already experienced in a craft or wanting to learn one? Then these jobs might be for you! Listed below are clients that are in need of helping hands where they can be had, be it gathering certain materials or helping manufacture them for a cause, required levels of experience desired will be listed with the entry. Show off what you know or pick up a new talent!

Smithy Needed
Job Summary: A tutor at the Gladiators’ Guild, Emmeline, is requesting a smithy! Specifically to craft her blades. Why? Well, to give them to her students, of course! They’ve been practicing for months and she wishes to treat them to a surprise for all their hard work. She’s willing to pay anything, as long as they’re well-crafted longswords!
Location: Ul’dah, Gladiators’ Guild
Job requirements: Bring the swords to Emmeline, but be sneaky about it! She’s always at the Guild! Return with a writ.
Reward: 80,000g

Lumber Needed ASAP!
Job Summary: Since the ransacking and destruction of a massive, aggressive grassland worm, buildings between Sheshenewezi and Hhusatahwi will need patching-up. Therefore, they seek as many hands as possible to fetch sturdy lumber and transport it to the towns. If you’re able to aid in reconstruction work, that’s a plus!
Location: Sheshenewezi and Hhusatahwi
Job requirements: Held gather sturdy lumber to transport to Sheshenewezi and Hhusatahwi. If able, aid in the reconstruction and patching of buildings.
Reward: 5,000g for every cluster of lumber, 10,000g for every hour of construction worked.
Not Without my Coffee
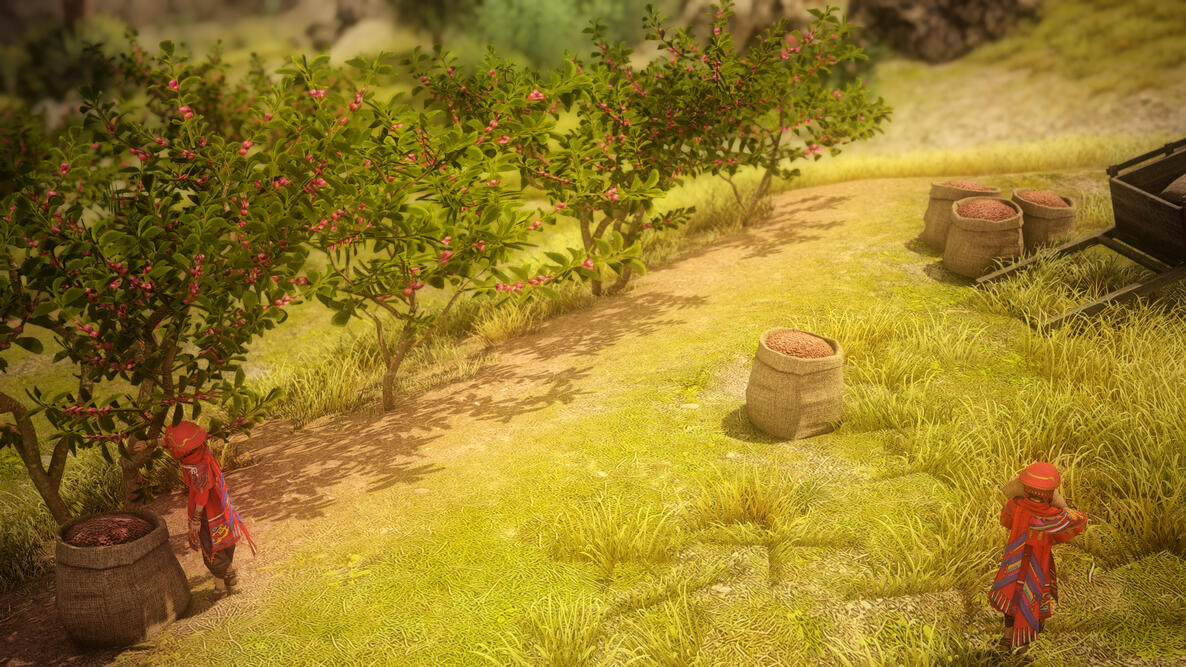
Job Summary: It’s harvest time for the coffee plants of Ciblu’s Coffee Grounds, and a bout of flu has rendered Ciblu short-handed. Looking for a helping hand with the harvest; you’ll be compensated by the sack.
Location: Ciblu’s Coffee Grounds, Urqopacha
Job requirements: Assist the Pelupelu with the harvest and return with writ of confirmation
Reward: 6,000g per sack harvested and a bag of roasted coffee beans

Midsummer’s Day Dream
Difficulty: ★ ★
Job Summary: The air holds heat, the water wafts off the lakes and the rivers as the sun reaches its zenith. The great season of Summer is in full bloom, and preparations for the Moonfire Faire are currently underway. The botanists guild has seen to it that there are plenty of flowers for the customary crowns, but the weavers don’t boast as many hands willing to turn them into such. All training is provided, all meals are free, and the company isn’t so bad, if you fancy a distraction. They might even let you take a few home…
Location: Costa del Sol, La Noscea
Job requirements: Arrive for day shifts at the cabins in Costa del Sol. Over the course of a 5 day week, log your hours worked as you weave crowns of fresh flowers. Work at least 30 hours, and you will be provided with an Ever-Blooming Flower Crown of your own.
Reward: 10,000 gil joining bonus, and 2,000 gil per hour worked, as proven per signed Writ of Completion. An Ever-Blooming Crown will be provided for working at least 30 hours.

Worse Living Through Chemistry
Difficulty: ★ ★ ★ ★
Job Summary: Master Alchemist Supreeth is infamous for being brilliant, but somewhat…difficult to work with, which is why he chooses to work apart from his peers in The Great Work, and why he’s chased away two assistants in as many weeks. So he’s looking for another part-time assistant in hopes that bounty hunters make hardier stock.
Location: Radz-at-Han, Thavnair
Job requirements: Assist Supreeth with the creation and testing of new alchemical concoctions. Must be okay with potential (non-lethal) bodily harm and (temporary) transmogrification. Return with writ of completion.
Reward: 6,400g per day (max of 14)
